How to Add and Customize Weather Widgets on Your Wear OS Smartwatch
Adding and customizing weather widgets on your Wear OS smartwatch allows you to access real-time weather information directly from your wrist. Here's a step-by-step guide to help you set up and personalize weather widgets:
1. Using the Built-in Weather App
Most Wear OS devices come equipped with a native weather application that provides current conditions, forecasts, and more. To access and customize this app:
-
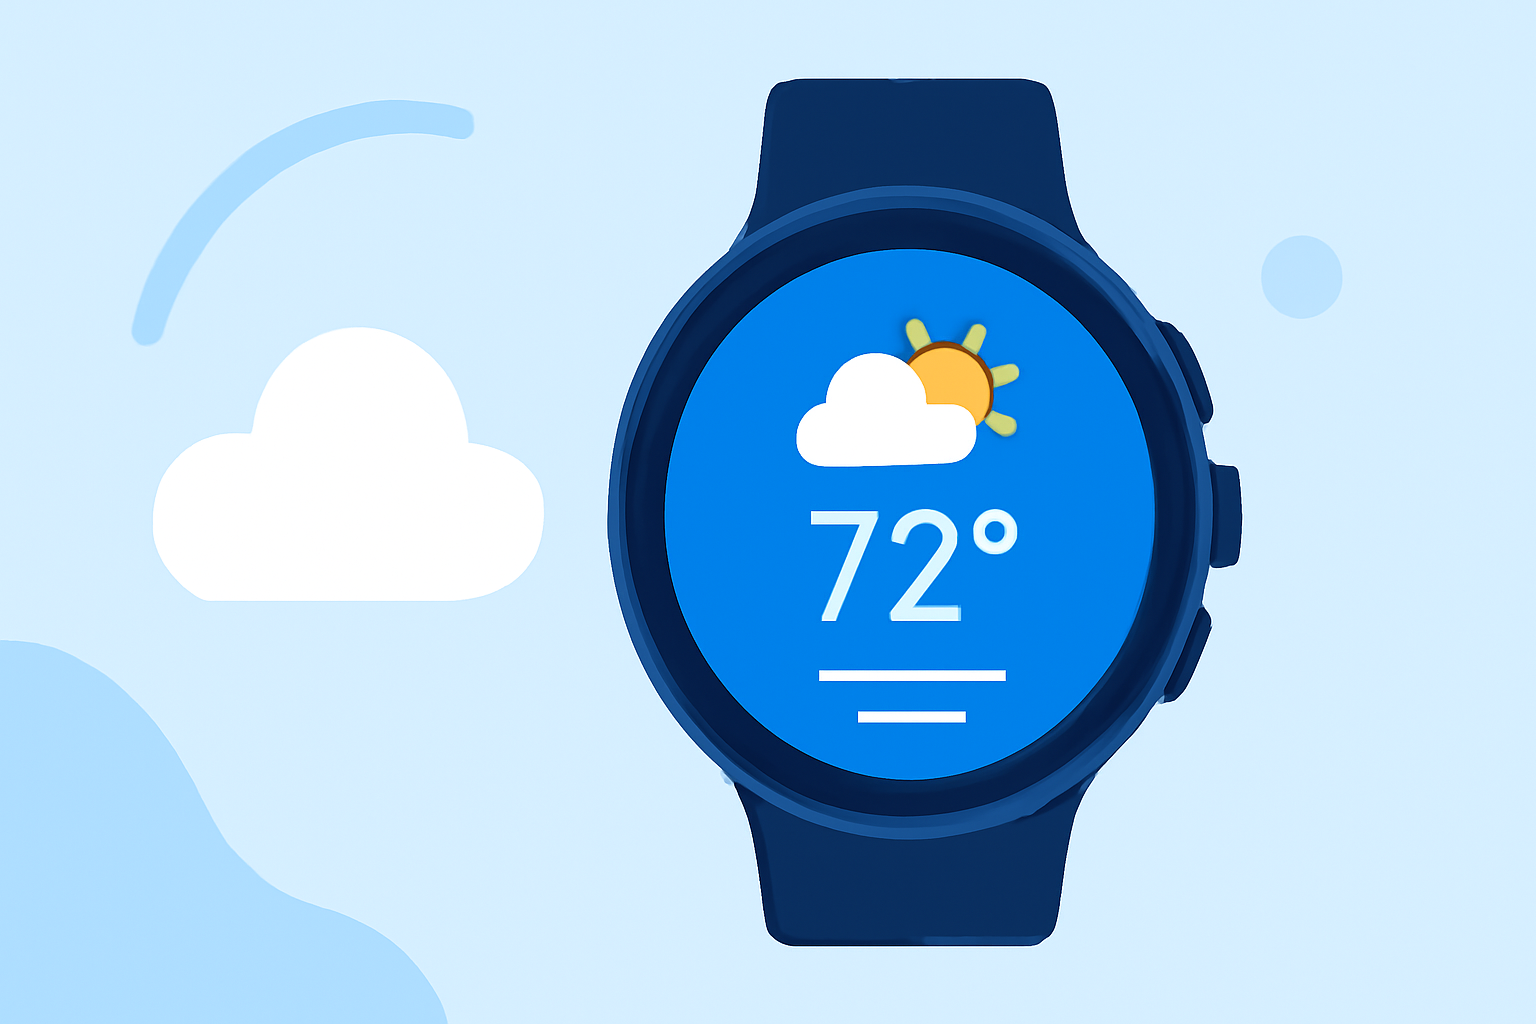
Open the Weather App: Navigate to your app list and select the Weather app to view current conditions and forecasts.
-
Add a Weather Tile: To quickly access weather information, you can add the Weather Tile:
-
Swipe left or right to access your Tiles.
-
Press and hold the screen to enter edit mode.
-
Tap the '+' icon to add a new tile.
-
Select the Weather Tile from the list.
-
Adjust the position of the tile as desired.
This tile will now display current weather information on your watch face.
2. Customizing Watch Face Complications
Complications are small widgets on your watch face that provide quick access to information. To add a weather complication:
-
Access Watch Face Settings: Touch and hold your current watch face until the customization menu appears.
-
Select Complications: Swipe to the complications section.
-
Choose a Complication Slot: Tap on the slot where you want to add the weather information.
-
Assign Weather Information: From the list of available complications, select the weather app or tile you added earlier.
-
Save Changes: Confirm your selection to update the watch face.
Now, the selected complication will display weather updates directly on your watch face.
3. Using Third-Party Weather Apps
If you're looking for more features or customization options, third-party weather apps can enhance your experience. Here's how to install and use one:
-
Install the App: Visit the Google Play Store on your smartwatch and search for a weather app that suits your needs.
-
Set Up the App: Open the app and follow the on-screen instructions to set your location and preferences.
-
Add the App's Tile: Similar to the built-in Weather Tile, you can add the new app's tile by following the steps mentioned earlier.
-
Customize Watch Face Complications: Assign the new app's weather information to a complication slot on your watch face.
By integrating third-party apps, you can access additional features like detailed forecasts, radar maps, and more.
4. Managing and Customizing Tiles
Tiles provide quick access to various functions and information. To manage and customize your tiles:
-
Access Tiles: Swipe left or right on your watch face to view your current tiles.
-
Edit Tiles: Press and hold a tile to enter edit mode.
-
Add or Remove Tiles: Tap the '+' icon to add a new tile or tap the '-' icon to remove an existing one.
-
Rearrange Tiles: Drag and drop tiles to reorder them as desired.
This customization allows you to prioritize the information and functions most important to you.
5. Ensuring Data Accuracy and Refreshing Information
To ensure your weather information is up-to-date:
-
Automatic Refresh: Most weather apps and tiles refresh data periodically.
-
Manual Refresh: If you notice outdated information, you can manually refresh the data by opening the weather app and tapping the refresh button, typically located at the bottom of the screen.
By following these steps, you can effectively add and customize weather widgets on your Wear OS smartwatch, keeping you informed about current conditions and forecasts at a glance.