How to Add Weather Banners to Your iPhone: A Step-by-Step Guide
Personalizing your iPhone with weather banners allows you to access current weather information at a glance. Here's how you can add and customize weather banners on your iPhone:
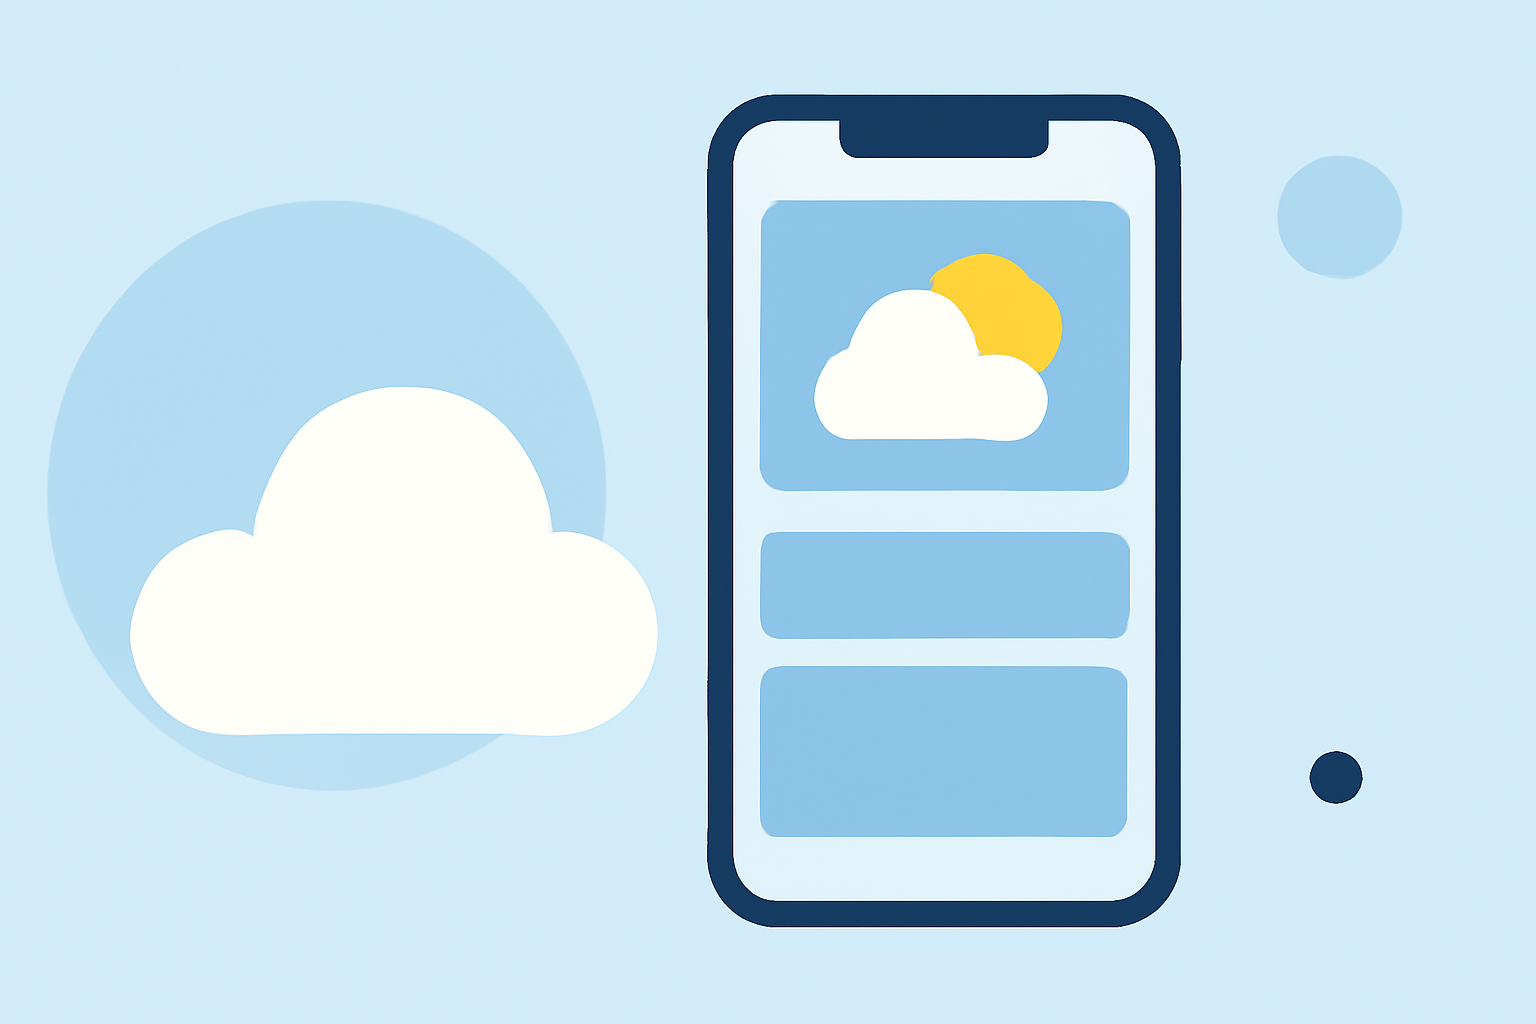
1. Adding a Weather Widget to Your Home Screen
Widgets provide timely information from your favorite apps directly on your Home Screen. To add a weather widget:
-
Enter Jiggle Mode: Touch and hold an empty area on your Home Screen until the apps start to jiggle.
-
Access the Widget Gallery: Tap the plus (+) button in the top-left corner.
-
Select the Weather Widget: Scroll down and tap on "Weather."
-
Choose Widget Size: Select the desired widget size (small, medium, or large) and tap "Add Widget."
-
Position the Widget: Drag the widget to your preferred location on the Home Screen.
-
Exit Jiggle Mode: Tap "Done" in the top-right corner.
This process is detailed in Apple's support guide on adding and editing widgets. (support.apple.com)
2. Adding a Weather Widget to Your Lock Screen
With iOS 16 and later, you can add widgets to your Lock Screen for quick access to information:
-
Enter Lock Screen Customization: Touch and hold your Lock Screen until the customization options appear.
-
Add Widgets: Tap "Add Widgets" below the clock.
-
Select Weather Widget: Choose the weather widget you prefer.
-
Position the Widget: Drag the widget to your desired location on the Lock Screen.
-
Save Changes: Tap "Done" to apply the changes.
For more details, refer to Apple's guide on adding widgets to your Lock Screen. (support.apple.com)
3. Using Dynamic Weather Wallpapers
iOS 16 introduced dynamic weather wallpapers that reflect current weather conditions:
-
Access Lock Screen Customization: Touch and hold your Lock Screen and tap the plus (+) button.
-
Select Weather Wallpaper: Under the "Weather & Astronomy" section, choose the dynamic weather wallpaper.
-
Apply the Wallpaper: Tap "Done" to set the wallpaper.
This feature is explained in detail in Apple's support guide. (support.apple.com)
4. Creating Custom Weather Widgets with Third-Party Apps
For more personalized weather widgets, consider using third-party apps like Widgetsmith:
-
Install Widgetsmith: Download and install Widgetsmith from the App Store.
-
Create a New Widget: Open Widgetsmith, tap the plus (+) icon, and select the widget size.
-
Customize the Widget: Choose "Weather" as the widget type and customize its appearance.
-
Add the Widget to Your Home Screen: Follow the steps to add a widget to your Home Screen, selecting the custom widget you created.
Detailed instructions are available in the How-To Geek guide on creating custom widgets. (howtogeek.com)
5. Automating Widget Updates
To keep your weather widgets updated automatically:
-
Open the Shortcuts App: Navigate to the "Automation" tab.
-
Create a New Automation: Tap the plus (+) icon and select "Time of Day."
-
Set the Time and Frequency: Choose the time and set it to repeat daily.
-
Add the Shortcut: Select the shortcut that updates your weather widget.
-
Save the Automation: Tap "Done" to activate the automation.
This method is discussed in the How-To Geek article on creating custom widgets. (howtogeek.com)
By following these steps, you can effectively add and customize weather banners on your iPhone, ensuring you stay informed about current weather conditions at all times.