How to Add a Weather Lock Screen Widget on Wear OS
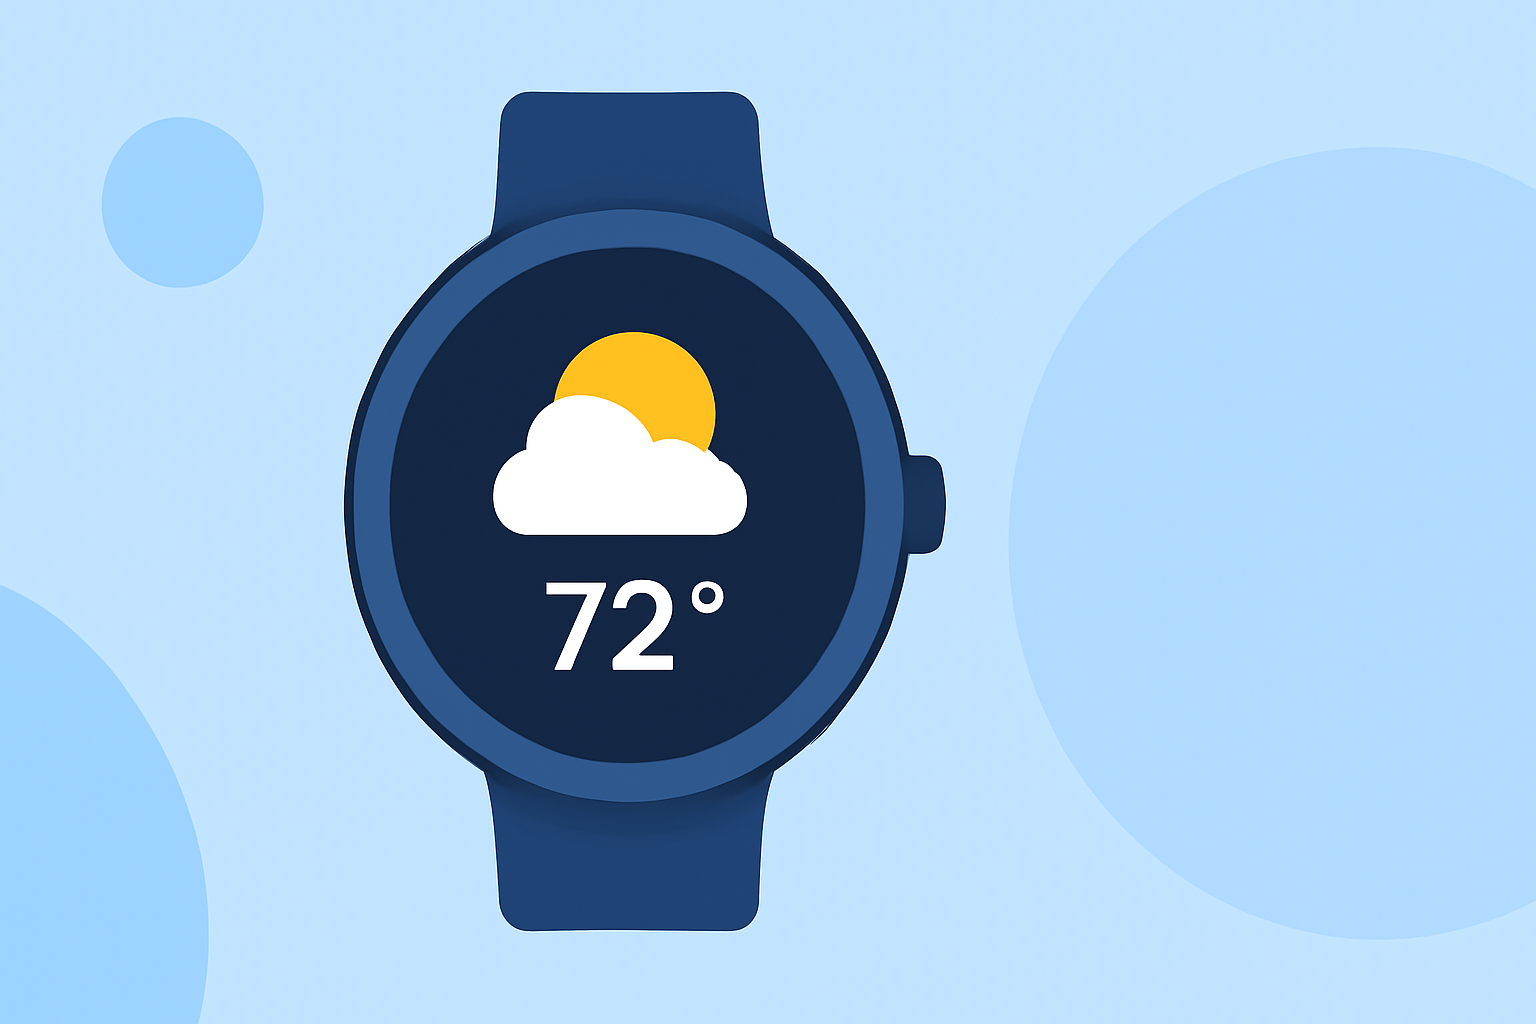
Adding a weather widget to your Wear OS lock screen allows you to view current conditions at a glance without unlocking your device. Here's a step-by-step guide to set it up:
1. Access Your Watch's Settings
- Press and hold the power button on your Wear OS watch to open the app menu.
- Scroll down and tap on "Settings."
2. Navigate to Lock Screen Settings
- In the Settings menu, scroll down to find "Display."
- Tap on "Lock screen" to access lock screen customization options.
3. Enable Lock Screen Widgets
- Within the Lock screen settings, ensure that "Lock screen widgets" is turned on. This feature allows you to add widgets to your lock screen.
4. Add the Weather Widget
- After enabling lock screen widgets, press the power button to return to the watch face.
- Tap and hold on the watch face to enter customization mode.
- Select "Edit" or "Customize" (the option may vary depending on your watch model).
- Scroll through the available widgets and tap on "Weather" to add it to your lock screen.
5. Customize the Weather Widget (Optional)
- Some watches allow you to customize the appearance of the weather widget.
- To adjust settings, tap on the weather widget in the customization menu and select "Customize."
- Choose your preferred weather provider, update frequency, and display options.
6. Save and Exit
- After adding and customizing the weather widget, press the power button to save your changes and return to the watch face.
Note: The exact steps and options may vary depending on your specific Wear OS watch model and software version. If you encounter any issues or the options differ from those listed, refer to your watch's user manual or the manufacturer's support resources for detailed instructions.
By following these steps, you can conveniently access current weather information directly from your Wear OS lock screen, keeping you informed throughout the day.