
Adding a Weather Widget to Your iPhone in Under 5 Minutes
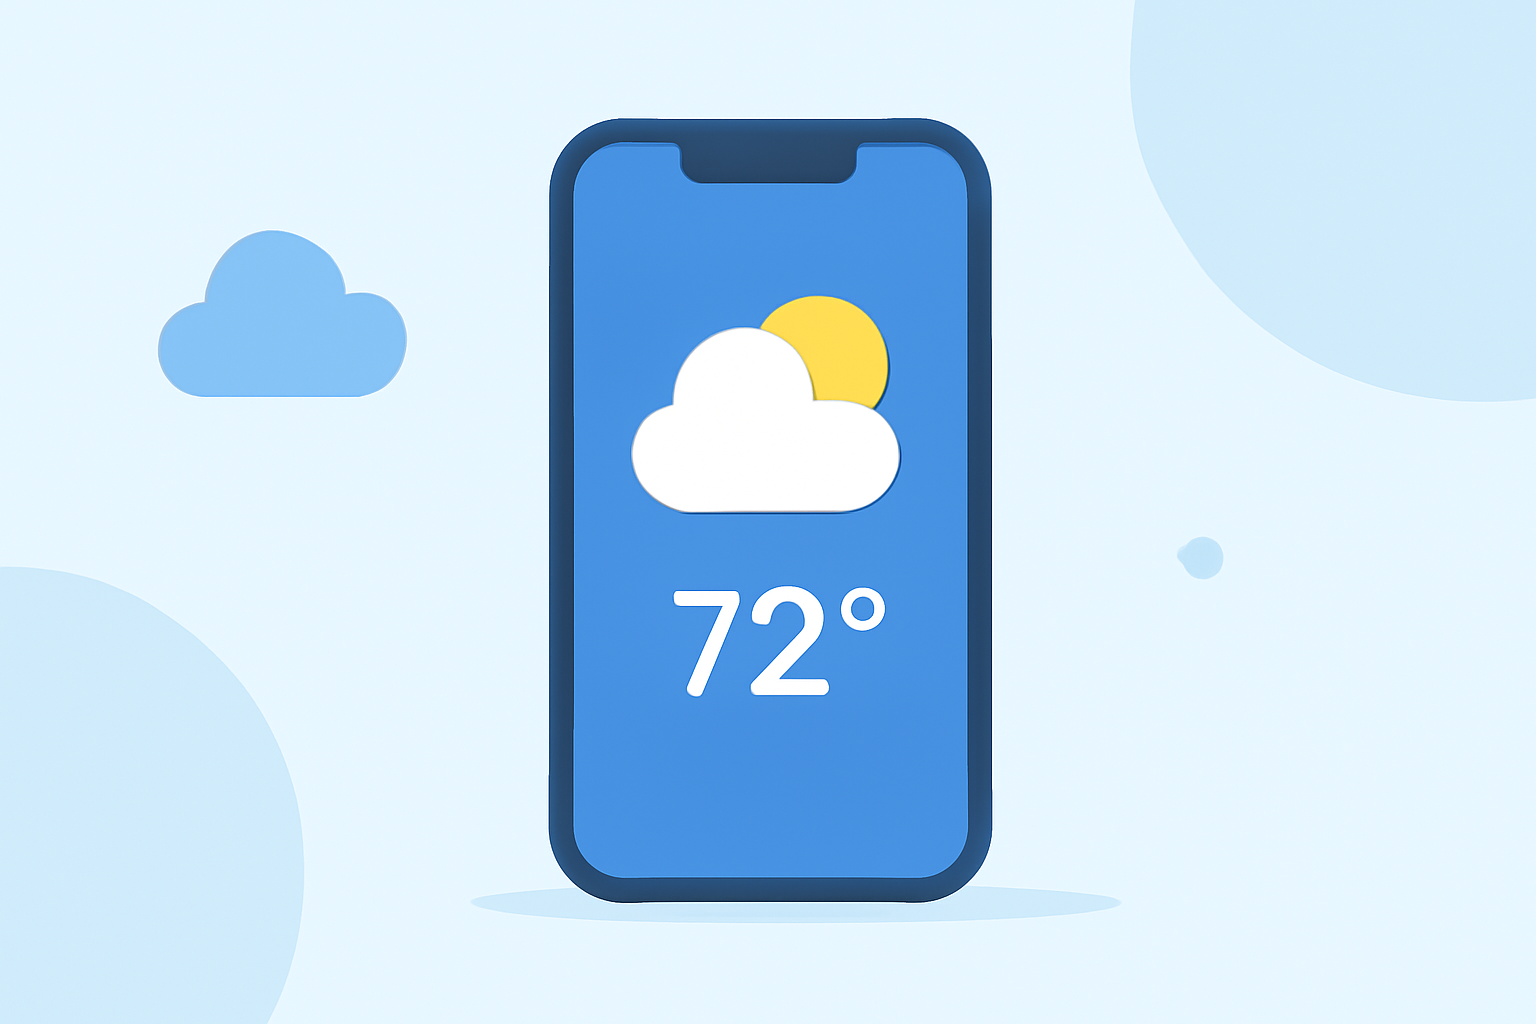
Adding a weather widget to your iPhone's Home Screen provides immediate access to current conditions and forecasts, enhancing your daily planning. Here's a step-by-step guide to set it up in under five minutes:
1. Access the Widget Gallery
-
Enter Jiggle Mode: Touch and hold an empty area on your Home Screen until the app icons begin to jiggle.
-
Open Widget Gallery: Tap the plus sign (+) in the top-left corner to open the Widget Gallery.
2. Select the Weather Widget
-
Browse Widgets: In the Widget Gallery, scroll down or use the search bar to find the "Weather" widget.
-
Choose Widget Size: The Weather widget offers different sizes (small, medium, large). Each size displays varying amounts of information. Tap on the desired size to select it.
3. Add the Widget to Your Home Screen
-
Add Widget: After selecting the widget size, tap "Add Widget" to place it on your Home Screen.
-
Position the Widget: Drag the widget to your preferred location on the screen.
-
Exit Jiggle Mode: Tap "Done" in the top-right corner to finalize the placement.
4. Customize the Widget (Optional)
-
Edit Widget: Touch and hold the Weather widget until a quick actions menu appears.
-
Select "Edit Widget": Choose "Edit Widget" from the menu.
-
Set Location: Tap "Location" and enter your desired city or allow the widget to use your current location.
-
Close Settings: Tap outside the widget to save your changes.
By following these steps, you can quickly add a weather widget to your iPhone's Home Screen, providing at-a-glance weather updates without opening the Weather app.
For a visual demonstration, you can watch the following tutorial: