
How to Add a Weather Widget to Your iPhone Home Screen
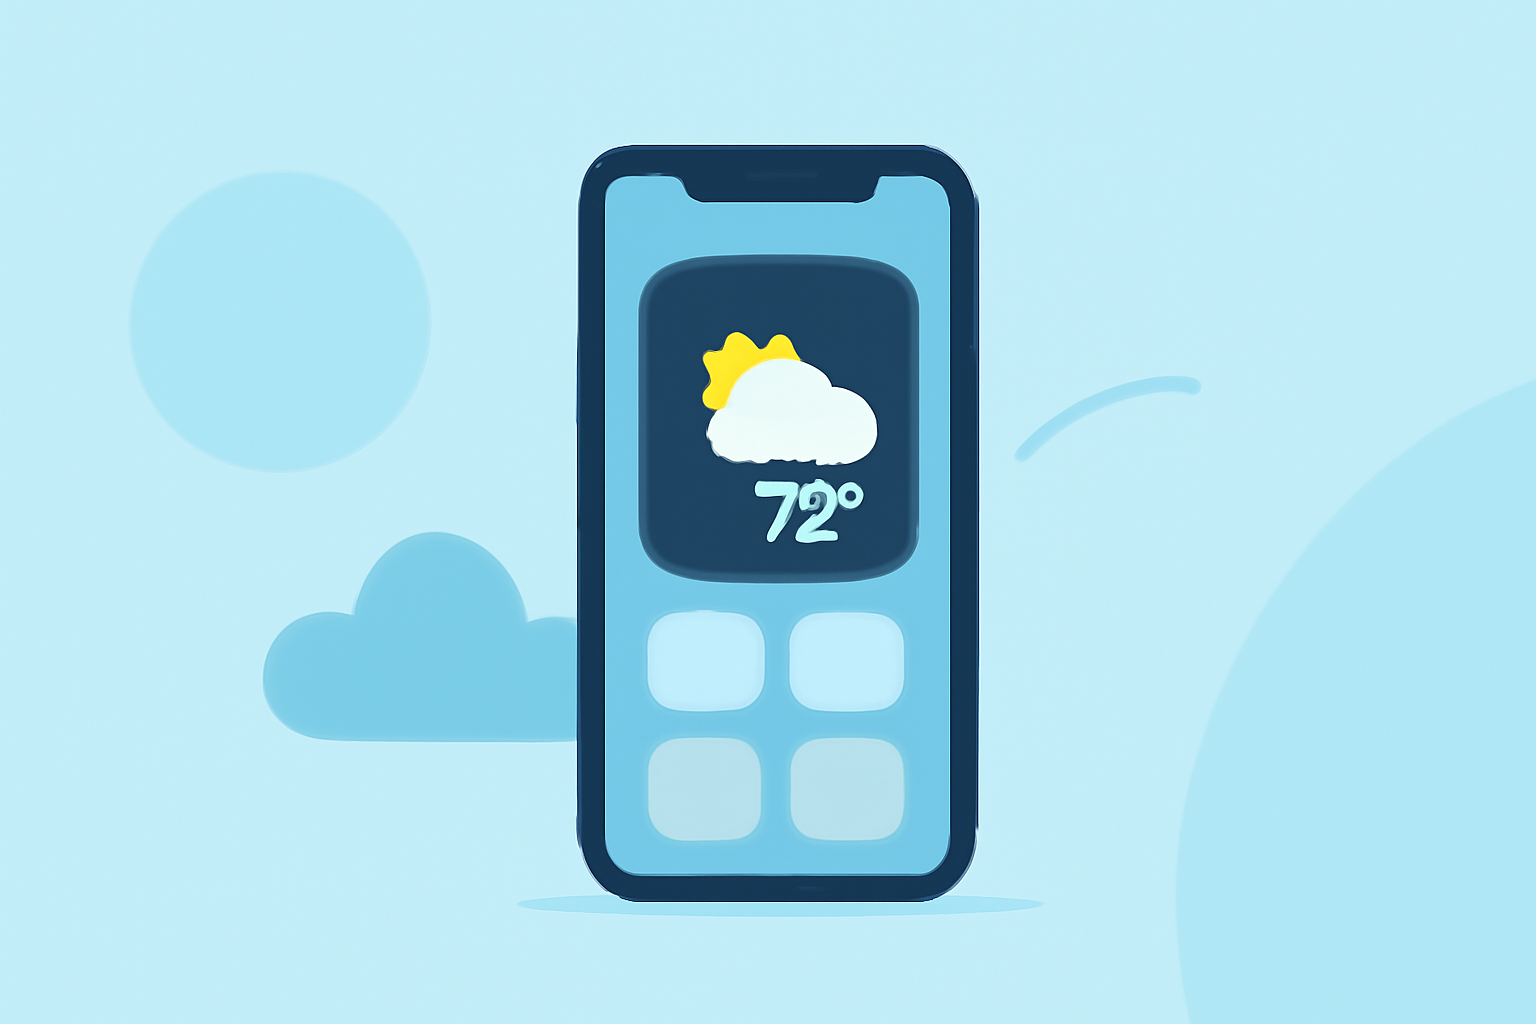
Adding a weather widget to your iPhone's home screen allows you to view current conditions and forecasts at a glance, enhancing your daily planning. Here's a step-by-step guide to set it up:
1. Access the Widget Gallery
-
Enter Jiggle Mode: Touch and hold an empty area on your home screen until the app icons begin to jiggle.
-
Open Widget Gallery: Tap the "+" button in the top-left corner of the screen.
2. Select the Weather Widget
-
Browse Widgets: In the widget gallery, scroll down or use the search bar to find the Weather widget.
-
Choose Widget Size: The Weather widget comes in different sizes (small, medium, large). Swipe left or right to preview each size and select the one that best fits your home screen layout.
3. Add the Widget to Your Home Screen
-
Add Widget: After selecting the desired size, tap "Add Widget".
-
Position the Widget: Drag the widget to your preferred location on the home screen.
-
Finalize Placement: Tap "Done" in the top-right corner to exit jiggle mode.
4. Customize the Widget (Optional)
-
Edit Widget: Touch and hold the Weather widget, then tap "Edit Widget".
-
Set Location: Choose the location you want the widget to display weather for.
-
Adjust Settings: Depending on your iOS version, you may have options to customize the widget's appearance or information displayed.
5. Remove the Widget (If Needed)
- Delete Widget: Touch and hold the Weather widget, then tap "Remove Widget". Confirm by tapping "Remove".
By following these steps, you can easily add a weather widget to your iPhone's home screen, providing quick access to essential weather information.
For more detailed instructions, refer to Apple's official guide on adding and editing widgets on your iPhone. (support.apple.com)
If you prefer a visual demonstration, here's a helpful video tutorial: