Mastering Blue Hour Photography: A Comprehensive Timing Guide
Blue hour photography captures the serene period just after sunset or before sunrise when the sky is bathed in deep blue hues. This brief window offers unique lighting conditions that can enhance your images.
What Is Blue Hour?
Blue hour occurs when the sun is between 4° and 8° below the horizon, resulting in a cool, diffused light that lasts approximately 20 to 40 minutes, depending on your location and the time of year. (shuttercoach.app)
When Does Blue Hour Happen?
The exact timing of blue hour varies based on geographic location and season. In the United States, blue hour typically begins about 20 to 30 minutes after sunset and lasts for 20 to 40 minutes. For instance, in Southern California, you might experience a 25-30 minute blue hour during spring and fall. (photographytalk.com)
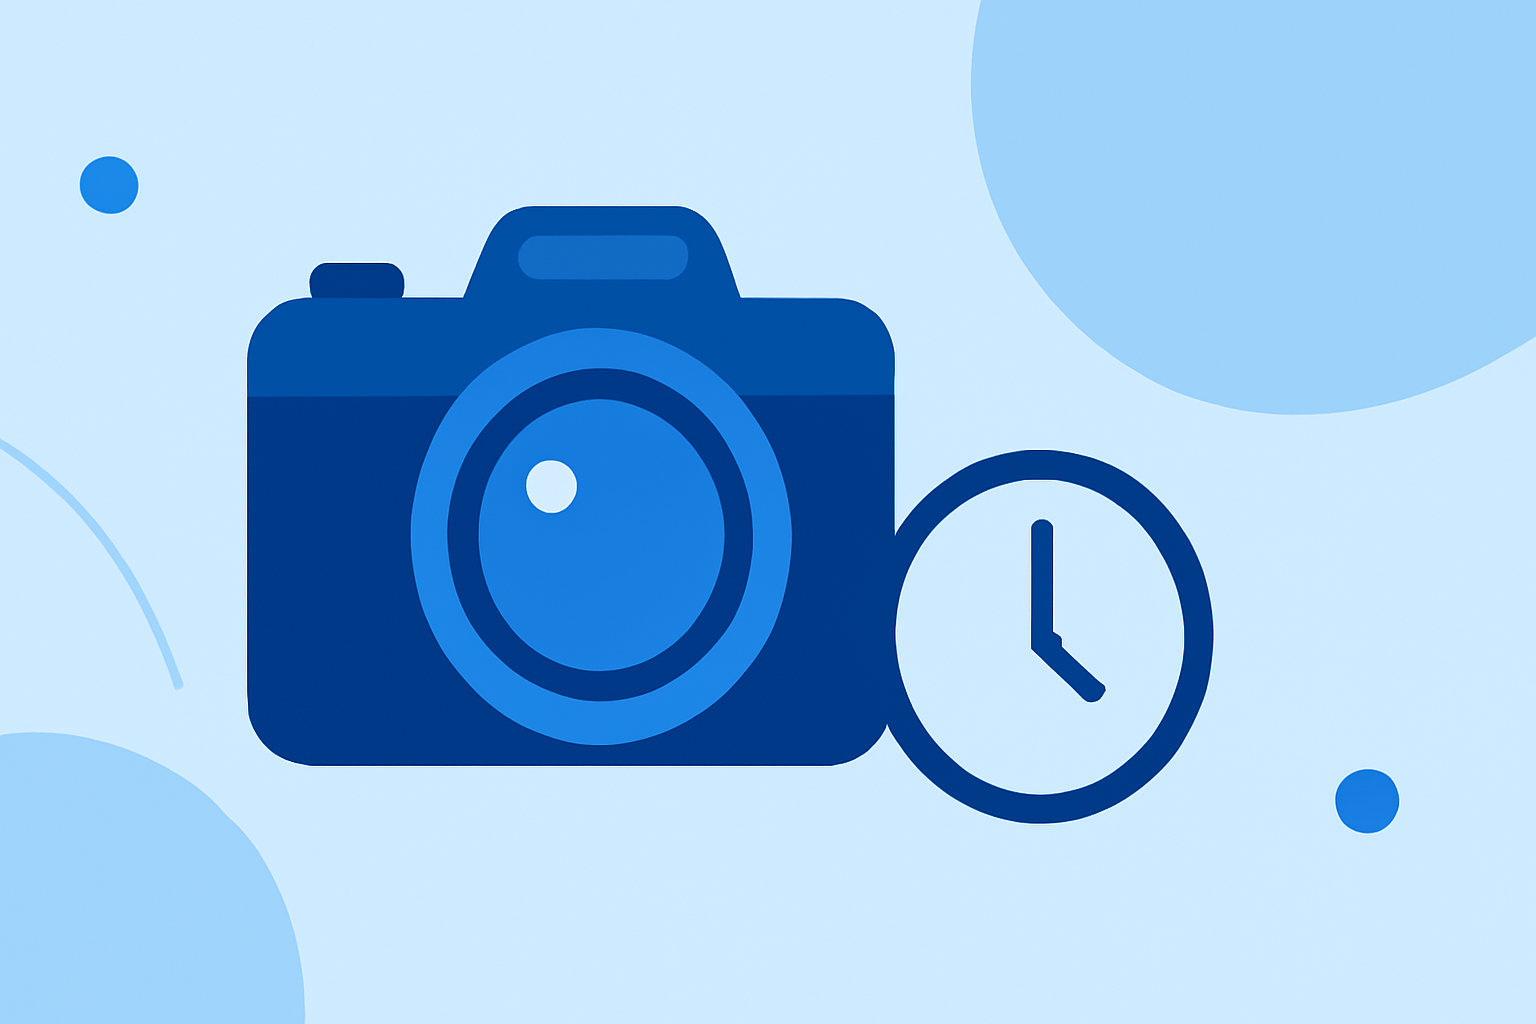
How to Determine Blue Hour Timing?
To accurately plan your blue hour photography sessions, use specialized tools and apps that calculate the exact times for your location. Websites like Timeanddate’s Sun Calculator and apps such as PhotoPills can provide precise timings for blue hour, helping you arrive at the optimal moment. (digitalcameraworld.com)
Blue Hour Photography Techniques
-
Camera Settings: Use manual mode to have full control over your settings. Aperture should be set between f/8 and f/11 for sharpness. Shutter speeds can range from 2 to 30 seconds, depending on the available light and desired effect. Keep ISO between 100 and 400 to minimize noise. (camerasettings.com)
-
Focus: Switch to manual focus, as autofocus may struggle in low-light conditions. Use live view with magnification to focus precisely on distant lights or structures. (camerasettings.com)
-
Stabilization: A sturdy tripod is essential to prevent camera shake during long exposures. Consider using a remote shutter release or the camera's self-timer to avoid introducing vibrations. (camerasettings.com)
Planning Your Shoot
-
Location Scouting: Visit your chosen location during daylight to identify the best compositions and angles. This preparation ensures you make the most of the limited blue hour window. (camerasettings.com)
-
Continuous Shooting: Light conditions change rapidly during blue hour. Keep shooting throughout the period to capture the evolving light and find the most compelling shots. (camerasettings.com)
Additional Tips
-
Include Reflections: Water bodies can amplify the blue hour effect by reflecting the sky and city lights, adding depth to your images. (camerasettings.com)
-
Post-Processing: Shooting in RAW format provides greater flexibility in post-processing, allowing you to adjust exposure and white balance without compromising image quality. (space.com)
By understanding the timing and techniques of blue hour photography, you can capture images that showcase the unique beauty of this fleeting period.