Building a Medium-Sized Weather Widget from Scratch: A Comprehensive Guide
Creating a medium-sized weather widget from scratch allows you to provide users with timely and relevant weather information directly on their devices. This guide outlines the key steps and best practices to develop an effective and user-friendly weather widget.
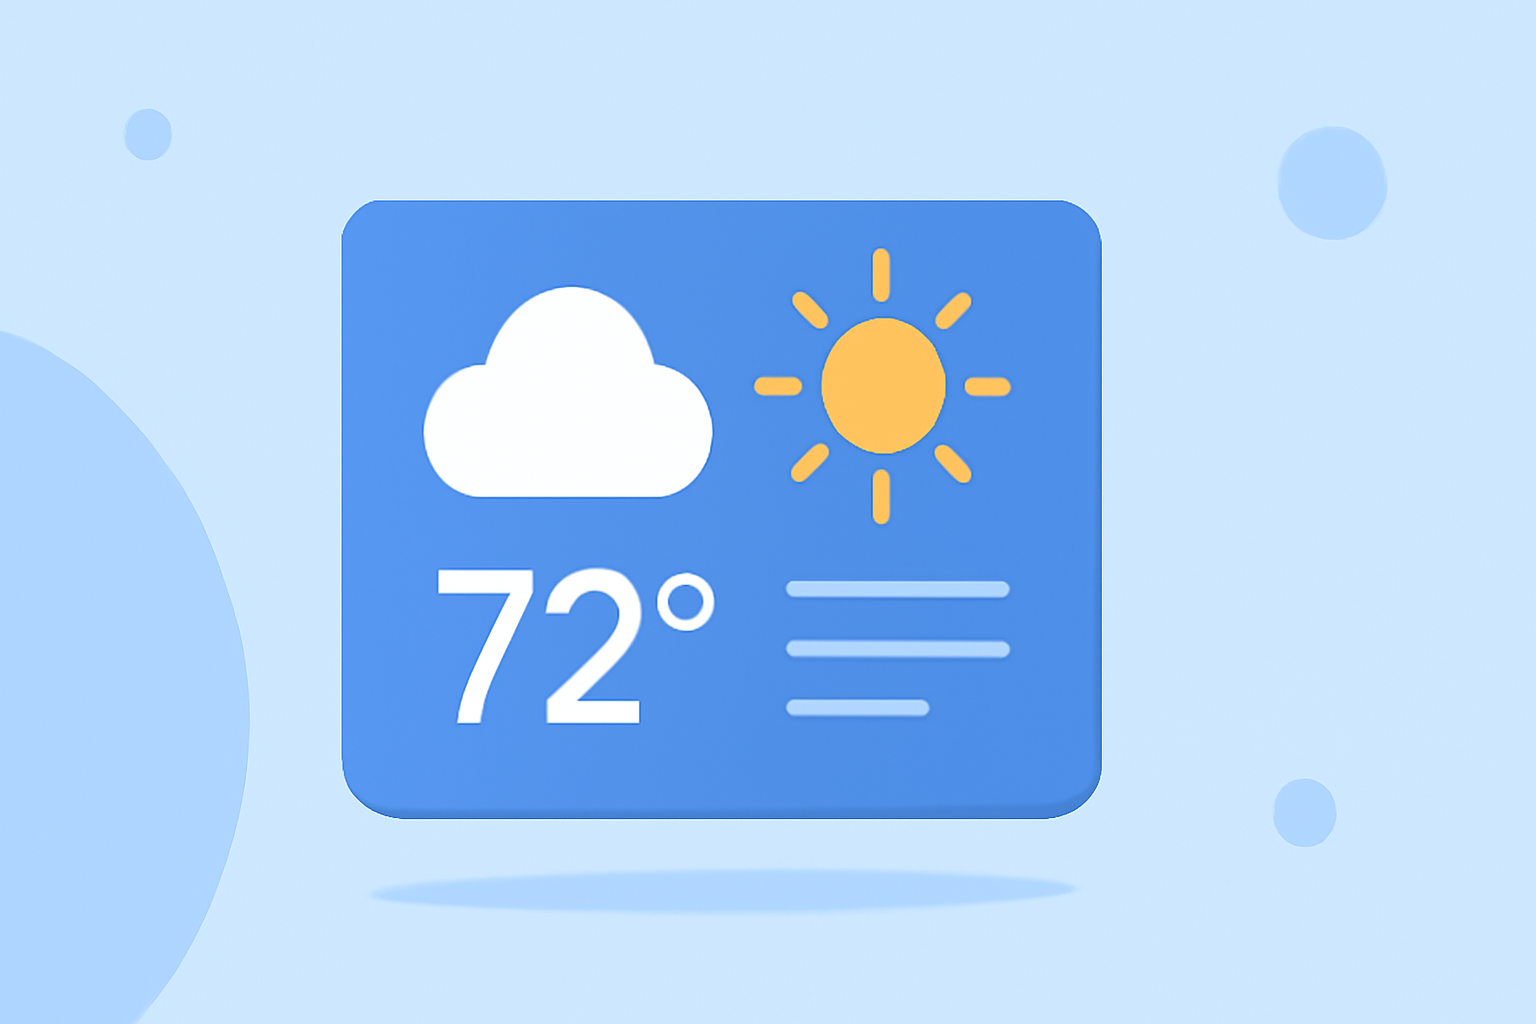
1. What Are the Key Features of a Medium-Sized Weather Widget?
A medium-sized weather widget typically includes:
- Current Temperature and Conditions: Displays the current temperature along with weather conditions (e.g., sunny, cloudy, rainy).
- Short-Term Forecast: Provides a brief forecast for the upcoming hours or days.
- Location Information: Shows the location for which the weather is being displayed.
- Additional Metrics: Optional details like humidity, wind speed, or UV index.
These features offer users a quick overview of the weather without overwhelming them with excessive information.
2. How Do You Design an Effective Weather Widget?
Designing a user-friendly weather widget involves:
- Simplicity: Focus on essential information to avoid clutter.
- Consistency: Use consistent units and formats (e.g., °C or °F, km/h or mph).
- Responsiveness: Ensure the widget adapts to different screen sizes and orientations.
- Aesthetics: Choose colors and icons that align with the overall design of the device or application.
For instance, Apple's Human Interface Guidelines recommend that widgets should provide quick access to content and offer useful actions, avoiding redundancy with app icons. (developer.apple.com)
3. What Are the Best Practices for Developing a Weather Widget?
When developing a weather widget:
- Data Accuracy: Use reliable weather data sources to ensure accuracy.
- Performance Optimization: Optimize the widget to load quickly and update data efficiently.
- User Customization: Allow users to select their preferred location and units.
- Error Handling: Implement graceful error handling for scenarios like data fetch failures.
These practices enhance the widget's reliability and user experience.
4. How Do You Implement a Weather Widget Using Open-Meteo and Next.js?
To build a weather widget using Open-Meteo and Next.js:
- Set Up the Project: Initialize a Next.js project and install necessary dependencies.
- Fetch Weather Data: Use the Open-Meteo API to retrieve current weather data for a specific location.
- Create the Widget Component: Develop a React component to display the weather information.
- Implement Server-Side Rendering: Utilize Next.js's server-side rendering capabilities to fetch and display data efficiently.
This approach leverages modern web technologies to create a responsive and efficient weather widget. (apideposu.com)
5. How Do You Ensure the Widget Is Responsive Across Devices?
To ensure responsiveness:
- Use Fluid Layouts: Employ relative units like percentages or viewport units instead of fixed pixels.
- Implement Media Queries: Adjust styles based on device characteristics such as screen width and orientation.
- Test Across Devices: Regularly test the widget on various devices and screen sizes to ensure consistent performance.
These strategies help maintain a consistent user experience across different platforms.
6. How Do You Handle Data Fetching and Updates in the Widget?
For efficient data fetching and updates:
- Use Asynchronous Operations: Implement asynchronous functions to fetch weather data without blocking the main thread.
- Implement Caching: Cache weather data to reduce the number of API calls and improve performance.
- Set Update Intervals: Determine appropriate intervals for updating the weather data to balance freshness and resource usage.
These techniques ensure the widget provides timely information without compromising performance.
7. How Do You Test and Deploy the Weather Widget?
Testing and deployment steps include:
- Unit Testing: Write tests for individual components and functions to ensure correctness.
- Integration Testing: Test the widget within the context of the application to verify overall functionality.
- Deployment: Deploy the widget to the target platform, ensuring all dependencies are correctly configured.
Thorough testing and careful deployment are crucial for the widget's success.
By following these guidelines, you can create a medium-sized weather widget that is both functional and user-friendly, providing valuable weather information to users at a glance.