How to Check Weather for Travel on Your iPhone
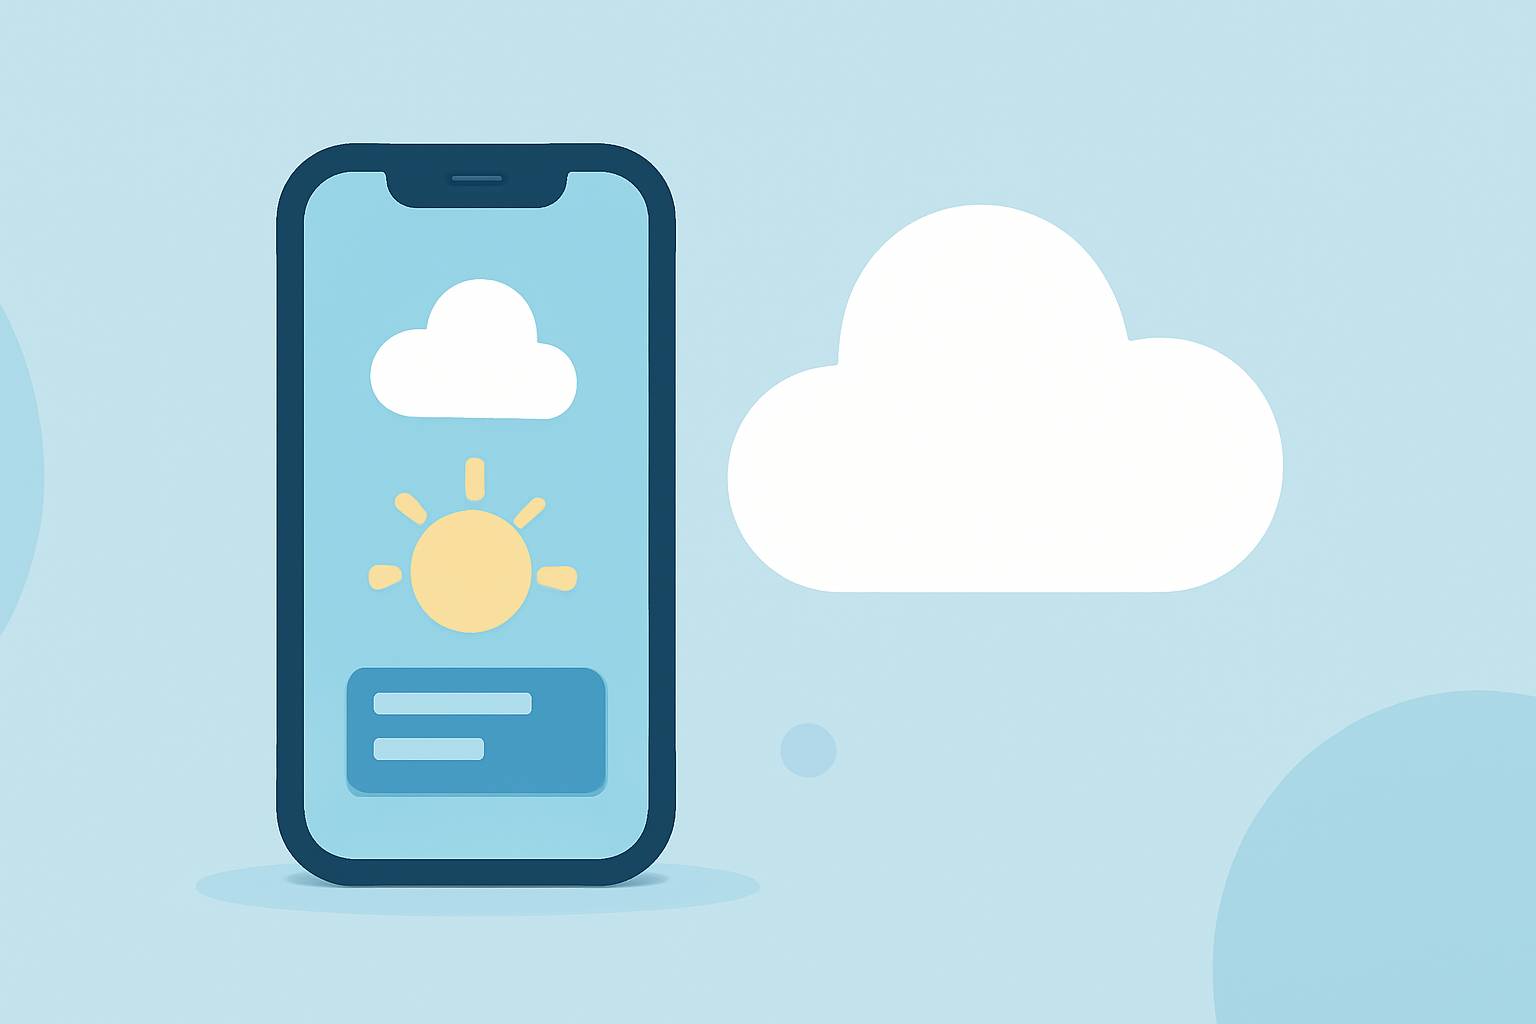
Planning a trip involves many considerations, and understanding the weather at your destination is crucial. Your iPhone's built-in Weather app offers a convenient way to check current conditions, forecasts, and more. Here's a step-by-step guide to help you utilize this feature effectively.
1. Accessing the Weather App
Locate and open the Weather app on your iPhone. The app icon resembles a sun and cloud. If you can't find it, swipe down on your home screen and type "Weather" into the search bar.
2. Adding a New Location
To check the weather for a specific travel destination:
-
Open the Weather app.
-
Tap the list icon (three horizontal lines) at the bottom right corner.
-
Tap the plus (+) icon to add a new location.
-
Enter the city name, zip code, or airport code of your destination.
-
Select the correct location from the search results.
The weather information for that location will now be available in your list. (guidingtech.com)
3. Viewing Weather Details
Once you've added your destination:
-
Open the Weather app.
-
Tap the location you added to view its weather details.
Here, you'll find:
-
Current Conditions: Temperature, weather icon (e.g., sunny, cloudy), and a brief description.
-
Hourly Forecast: Upcoming weather conditions for the next 24 hours.
-
10-Day Forecast: Predicted high and low temperatures for the next ten days.
-
Additional Information: Details like wind speed, humidity, UV index, and air quality.
4. Utilizing the Interactive Weather Map
The Weather app includes an interactive map to visualize weather patterns:
-
Open the Weather app.
-
Tap the map icon at the bottom left corner.
-
Use pinch gestures to zoom in or out, and drag to move the map.
-
Tap the stacked squares icon to switch between temperature, precipitation, or air quality views.
This feature helps you see weather conditions across different regions, which is particularly useful for planning travel routes. (imore.com)
5. Setting Up Weather Notifications
To receive alerts about weather changes at your destination:
-
Open the Weather app.
-
Tap the list icon at the bottom right corner.
-
Tap the three dots in the top right corner and select "Notifications."
-
Enable notifications for your desired location.
-
Choose the types of alerts you want to receive, such as rain or snow notifications.
Ensure that location services and notifications are enabled for the Weather app in your iPhone's settings. (makeuseof.com)
6. Customizing Weather Units
You can adjust the units used for temperature, wind speed, and other measurements:
-
Open the Weather app.
-
Tap the list icon at the bottom right corner.
-
Tap the three dots in the top right corner and select "Units."
-
Choose your preferred units for temperature, wind, and precipitation.
This customization ensures that the weather information aligns with your preferences. (support.apple.com)
7. Managing Multiple Locations
To add or remove cities from your list:
-
Open the Weather app.
-
Tap the list icon at the bottom right corner.
-
To add a new location, tap the plus (+) icon and follow the steps mentioned earlier.
-
To remove a location, tap the three dots in the top right corner, select "Edit List," then tap the red minus (-) next to the city you want to remove.
Managing multiple locations allows you to keep track of weather conditions in various places, which is especially useful when traveling. (iphonefaq.org)
By following these steps, you can effectively use your iPhone's Weather app to stay informed about the weather conditions at your travel destinations, helping you plan your activities accordingly.
Highlights:
- How to use weather maps in the Weather app on iPhone | iMore, Published on Tuesday, July 06
- 9 hidden iPhone features for travellers | Tom's Guide, Published on Saturday, May 20