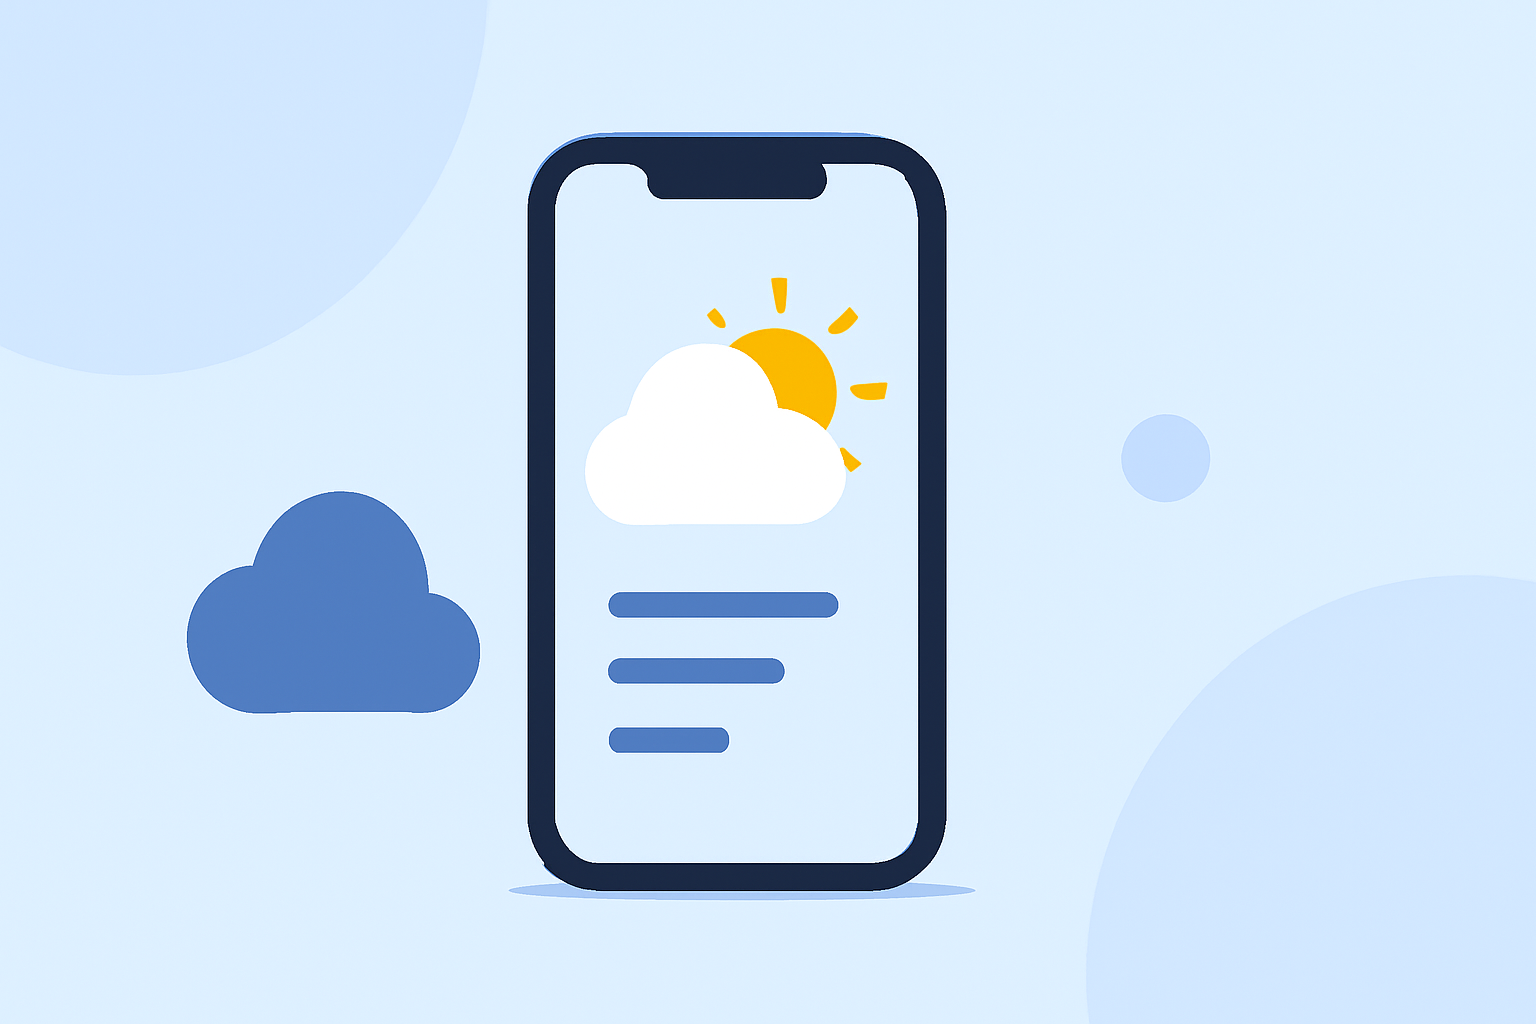
How to Check the Weather for Outdoor Walking on Your iPhone
Planning an outdoor walk requires checking the weather to ensure a comfortable and safe experience. Your iPhone's built-in Weather app provides accurate and timely weather information to assist you in making informed decisions. Here's a step-by-step guide to using the Weather app for your walking plans:
1. Accessing the Weather App
-
Open the App: Locate and tap the Weather app icon on your iPhone's home screen.
-
Current Location: By default, the app displays the weather for your current location. If it doesn't, ensure that Location Services are enabled.
2. Enabling Location Services
To receive accurate weather updates for your current location:
-
Open Settings: Tap the Settings app on your iPhone.
-
Navigate to Privacy: Scroll down and select "Privacy & Security."
-
Location Services: Tap "Location Services" and ensure it's turned on.
-
Weather App Settings: Scroll down to find "Weather" and tap on it.
-
Set Access: Choose "Always" to allow the Weather app to access your location at all times.
-
Enable Precise Location: Toggle on "Precise Location" for more accurate weather data.
3. Viewing the Weather for Your Current Location
-
Open the Weather App: After enabling Location Services, open the Weather app again.
-
Current Conditions: The app will display the current temperature, weather conditions (e.g., sunny, cloudy, rainy), and the high and low temperatures for the day.
-
Hourly Forecast: Swipe left or right on the hourly display to view the forecast for different times of the day.
-
Detailed Information: Tap on the hourly forecast, then tap the "Chart" icon to see more details like precipitation chances, wind speed, and humidity.
4. Adding Other Locations
If you plan to walk in a different area, you can add that location to the Weather app:
-
Open the Weather App: Launch the app on your iPhone.
-
Access Location List: Tap the list icon (three lines) in the bottom-right corner.
-
Add Location: Tap the plus (+) icon, then enter the city name or ZIP code of the desired location.
-
Select Location: Choose the correct location from the search results to add it to your list.
-
Switch Between Locations: Tap the location name at the top to switch between your saved locations.
5. Customizing Weather Units
To adjust the units used in the Weather app:
-
Open the Weather App: Launch the app on your iPhone.
-
Access Location List: Tap the list icon (three lines) in the bottom-right corner.
-
Open Settings: Tap the "More" button (three dots) and select "Units."
-
Adjust Units: Choose your preferred units for temperature (Fahrenheit or Celsius), wind speed, precipitation, and pressure.
6. Receiving Weather Notifications
To stay informed about weather changes that may affect your walk:
-
Open the Weather App: Launch the app on your iPhone.
-
Access Notifications: Tap the list icon (three lines) in the bottom-right corner, then tap the "More" button (three dots) and select "Notifications."
-
Enable Notifications: Turn on "My Location" and any other locations where you want to receive weather alerts.
-
Set Alert Preferences: Choose the types of notifications you wish to receive, such as precipitation alerts or severe weather warnings.
7. Using Weather Maps
For a visual representation of weather conditions:
-
Open the Weather App: Launch the app on your iPhone.
-
Access Weather Maps: Tap the map icon in the bottom-left corner to view temperature, precipitation, and air quality maps.
-
Navigate Maps: Use pinch gestures to zoom in or out, and drag to move around the map.
8. Troubleshooting the Weather App
If the Weather app isn't functioning correctly:
-
Check Location Services: Ensure that Location Services are enabled and that the Weather app has the necessary permissions.
-
Restart the App: Close the Weather app and reopen it.
-
Restart Your iPhone: A simple restart can resolve many issues.
-
Update iOS: Ensure your iPhone is running the latest version of iOS.
By following these steps, you can effectively use your iPhone's Weather app to plan your outdoor walks, ensuring you're prepared for any weather conditions. (support.apple.com)