Setting Up Clime: Weather Radar Live on Your iPad
Clime: Weather Radar Live is a comprehensive weather application that provides real-time radar images, severe weather alerts, and accurate forecasts. Setting it up on your iPad ensures you have timely and precise weather information at your fingertips.
1. Downloading and Installing Clime: Weather Radar Live
-
Access the App Store: Open the App Store on your iPad.
-
Search for Clime: Tap the search icon and type "Clime: Weather Radar Live" into the search bar.
-
Select the App: From the search results, tap on the Clime app.
-
Install the App: Tap the "Get" button to download and install the app on your device.
2. Launching the App and Initial Setup
-
Open Clime: Once installed, tap the Clime icon on your home screen to open the app.
-
Grant Location Access: The app may prompt you to access your location. Allowing this ensures accurate local weather information.
-
Enable Notifications: Opt-in to receive push notifications for severe weather alerts, keeping you informed about critical weather events.
3. Navigating the Interface
-
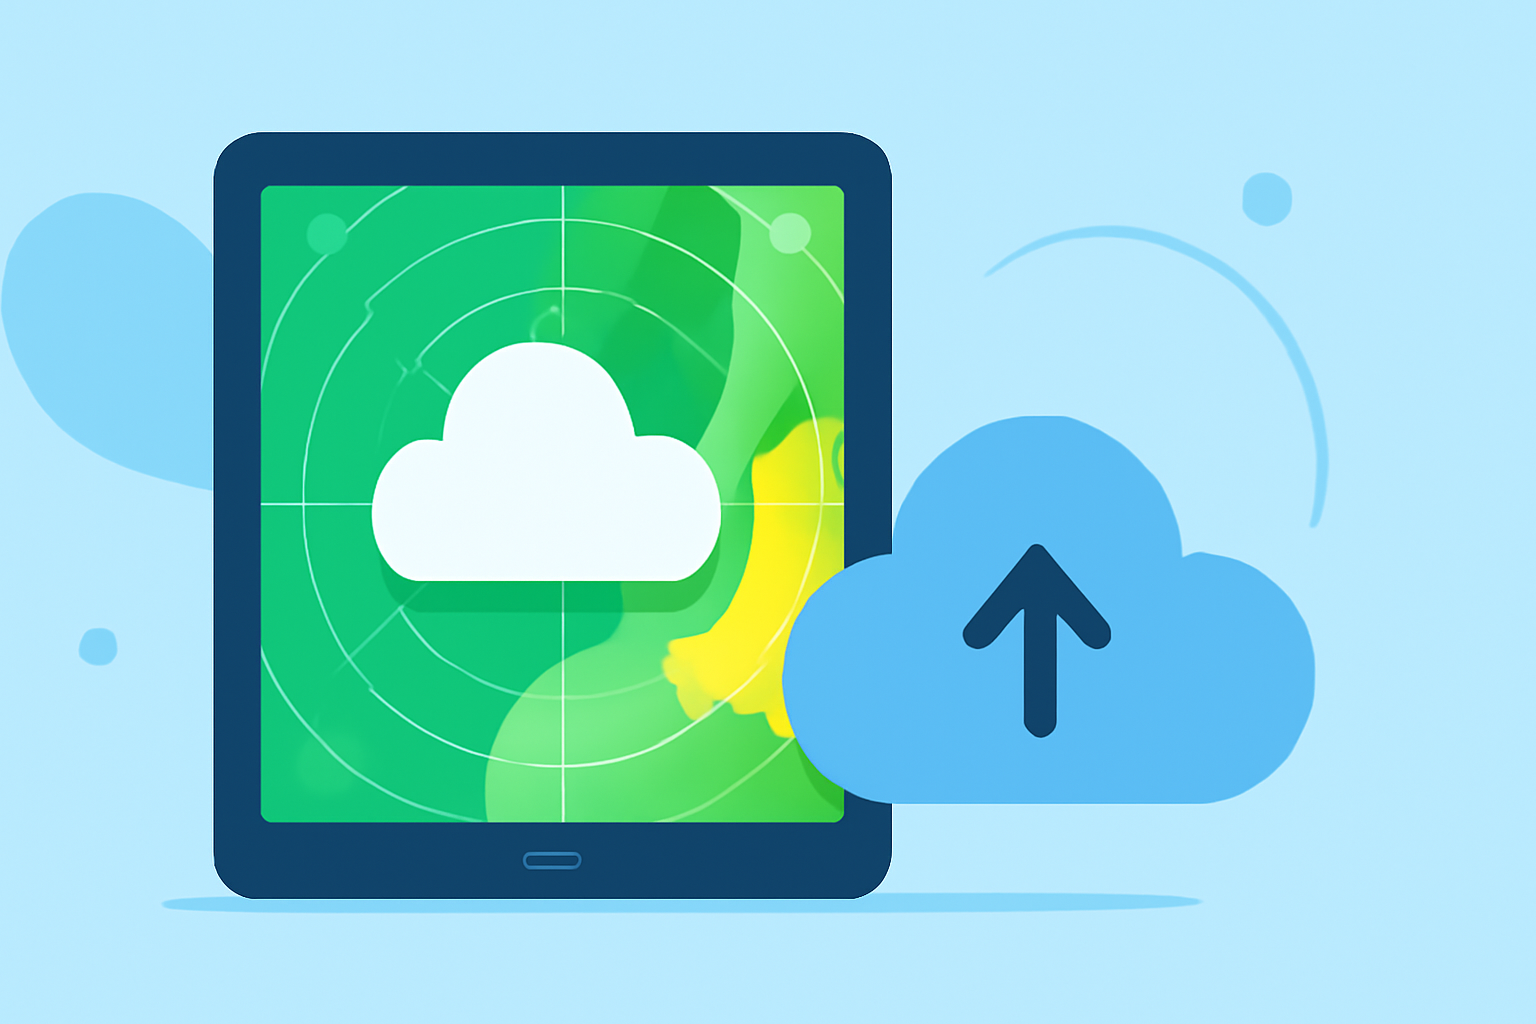
Main Dashboard: Upon opening, you'll see the current weather conditions for your location, including temperature, humidity, wind speed, and a radar map.
-
Radar Map: The interactive map displays precipitation patterns, allowing you to track storms and rainfall in real-time.
-
Forecasts: Swipe left or right to view hourly and 7-day forecasts, providing detailed information on upcoming weather conditions.
4. Customizing Settings
-
Adjust Units: To change measurement units (e.g., from Fahrenheit to Celsius):
-
Tap the "More" button (three horizontal lines) in the top-left corner.
-
Select "Settings".
-
Choose "Units" and select your preferred units for temperature, wind speed, and precipitation.
-
Customize Layout: To modify the information displayed on the main screen:
-
In the "Settings" menu, tap "Customize Layout".
-
Rearrange or remove parameters as desired to tailor the display to your preferences. (support.climeradar.com)
5. Managing Locations
-
Add New Locations: To monitor weather in multiple areas:
-
Tap the "Locations" icon (usually a pin or map marker) at the bottom of the screen.
-
Tap the "+" button to add a new location by entering the city name or postal code.
-
Switch Between Locations: Use the "Locations" menu to toggle between saved locations and view their respective weather details.
6. Utilizing Advanced Features
-
Severe Weather Alerts: Stay informed about critical weather events by enabling push notifications for severe weather alerts.
-
RainScope: Access detailed precipitation forecasts to plan your activities accordingly.
-
Air Quality Index: Monitor air quality levels to ensure a safe environment, especially if you have respiratory concerns.
7. Updating the App
- Keep Clime Updated: Regularly check the App Store for updates to ensure you have the latest features and improvements.
By following these steps, you can effectively set up and customize Clime: Weather Radar Live on your iPad, ensuring you receive accurate and timely weather information tailored to your needs.
Highlights:
- Which App Shows Storms Approaching? A Practical Guide for U.S. Users | Clime Blog, Published on Monday, March 09