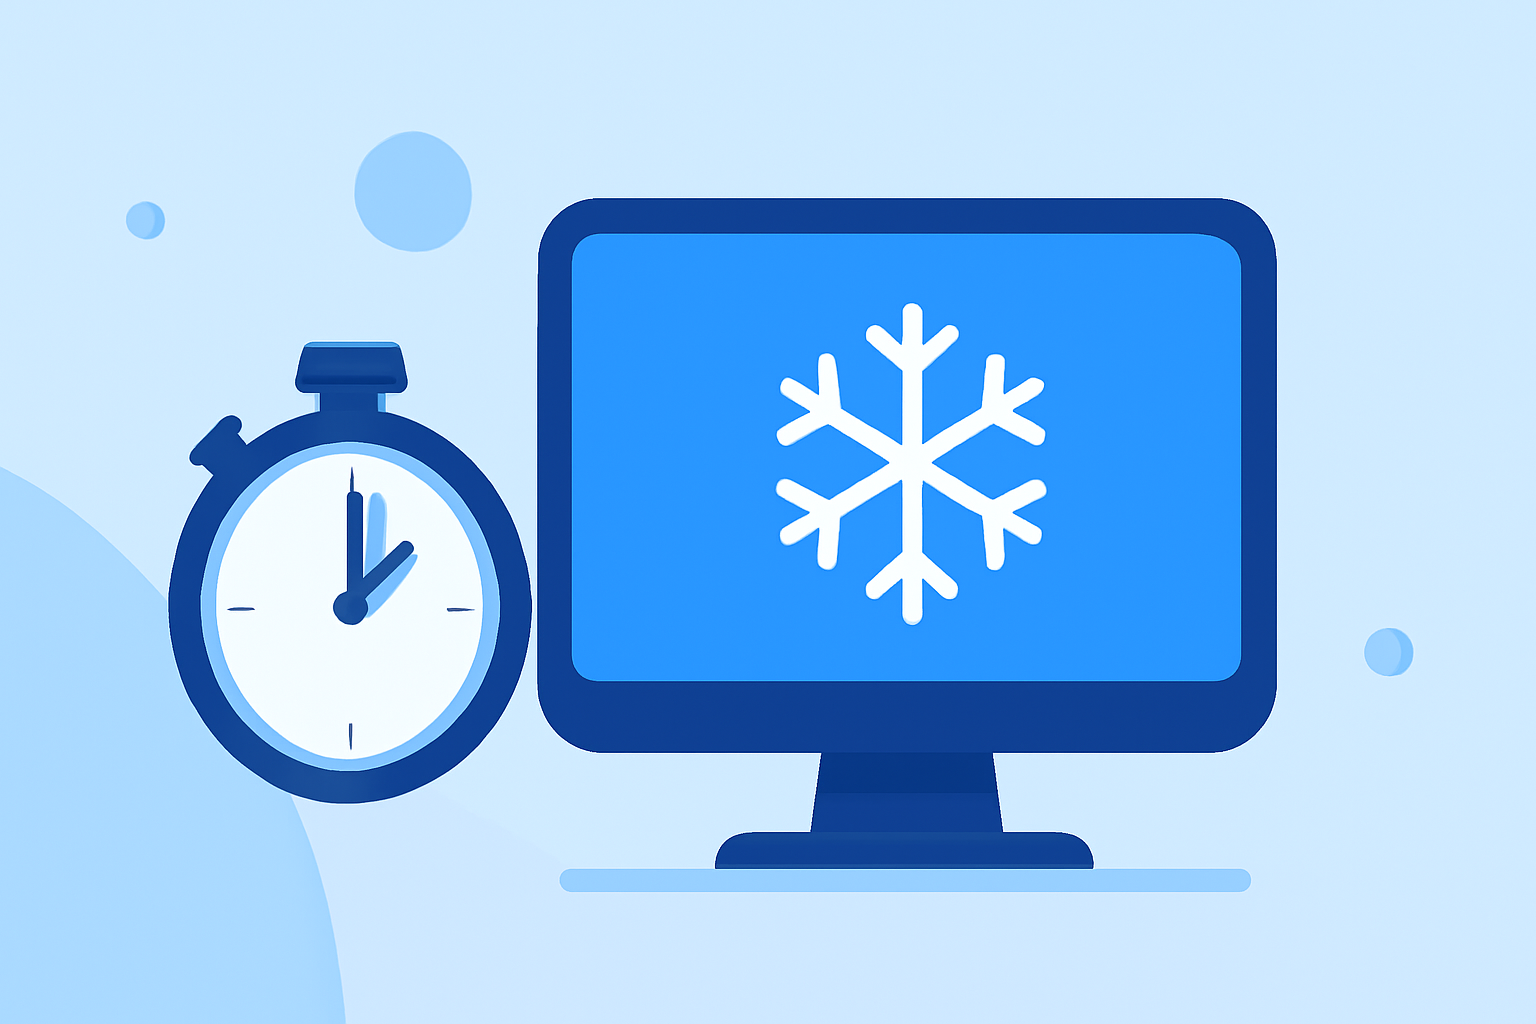
Creating a Snowfall Effect with a Stop Timer in Scratch
Creating a snowfall effect in Scratch can add a charming winter ambiance to your projects. By incorporating a timer, you can control the duration of the snowfall, allowing it to stop after a specified time. Here's a step-by-step guide to achieve this:
1. Setting Up the Snowflake Sprite
-
Create the Snowflake: Design a simple snowflake sprite using the Scratch paint editor.
-
Convert to a Clone: To create multiple snowflakes, convert the snowflake sprite into a clone. This allows for efficient management and control of each snowflake.
2. Programming the Snowfall Behavior
-
Initialize the Timer: Use the
when green flag clickedblock to start the timer. -
Create Clones: Within a loop, create multiple clones of the snowflake sprite to simulate falling snow.
-
Set Random Positions: For each clone, set a random starting position at the top of the stage to give a natural appearance to the snowfall.
-
Animate Falling: Use a
foreverloop to move each clone downward, creating the falling effect.
3. Implementing the Stop Timer
-
Start the Timer: When the green flag is clicked, set a variable (e.g.,
snowTime) to the desired duration in seconds. -
Countdown Mechanism: Use a
repeat untilloop that continues until thesnowTimevariable reaches zero. -
Decrement Timer: Within the loop, wait for one second and then decrease the
snowTimeby one. -
Stop Snowfall: Once the timer reaches zero, stop all scripts to halt the snowfall.
4. Example Code Snippet
when green flag clicked
set [snowTime v] to [10] // Set snowfall duration to 10 seconds
repeat until <(snowTime) = [0]>
 create clone of [myself v]
 wait (1) seconds
 change [snowTime v] by (-1)
end
stop [all v]
5. Enhancing the Effect
-
Vary Snowflake Sizes: Assign random sizes to each snowflake clone to add realism.
-
Add Random Speeds: Set random speeds for each clone to make the snowfall appear more natural.
-
Implement Wind Effects: Introduce slight horizontal movements to simulate wind, adding depth to the scene.
By following these steps, you can create a dynamic snowfall effect in Scratch that stops after a set duration, perfect for winter-themed projects.
For more detailed tutorials and examples, consider exploring resources like TechTime Workshop: Code a Winter Snow Scene in Scratch.
Remember, the key to a convincing snowfall effect lies in randomness and timing. Experiment with different parameters to achieve the desired visual impact.