Designing and Installing Custom Windshield Banners: A Comprehensive Guide
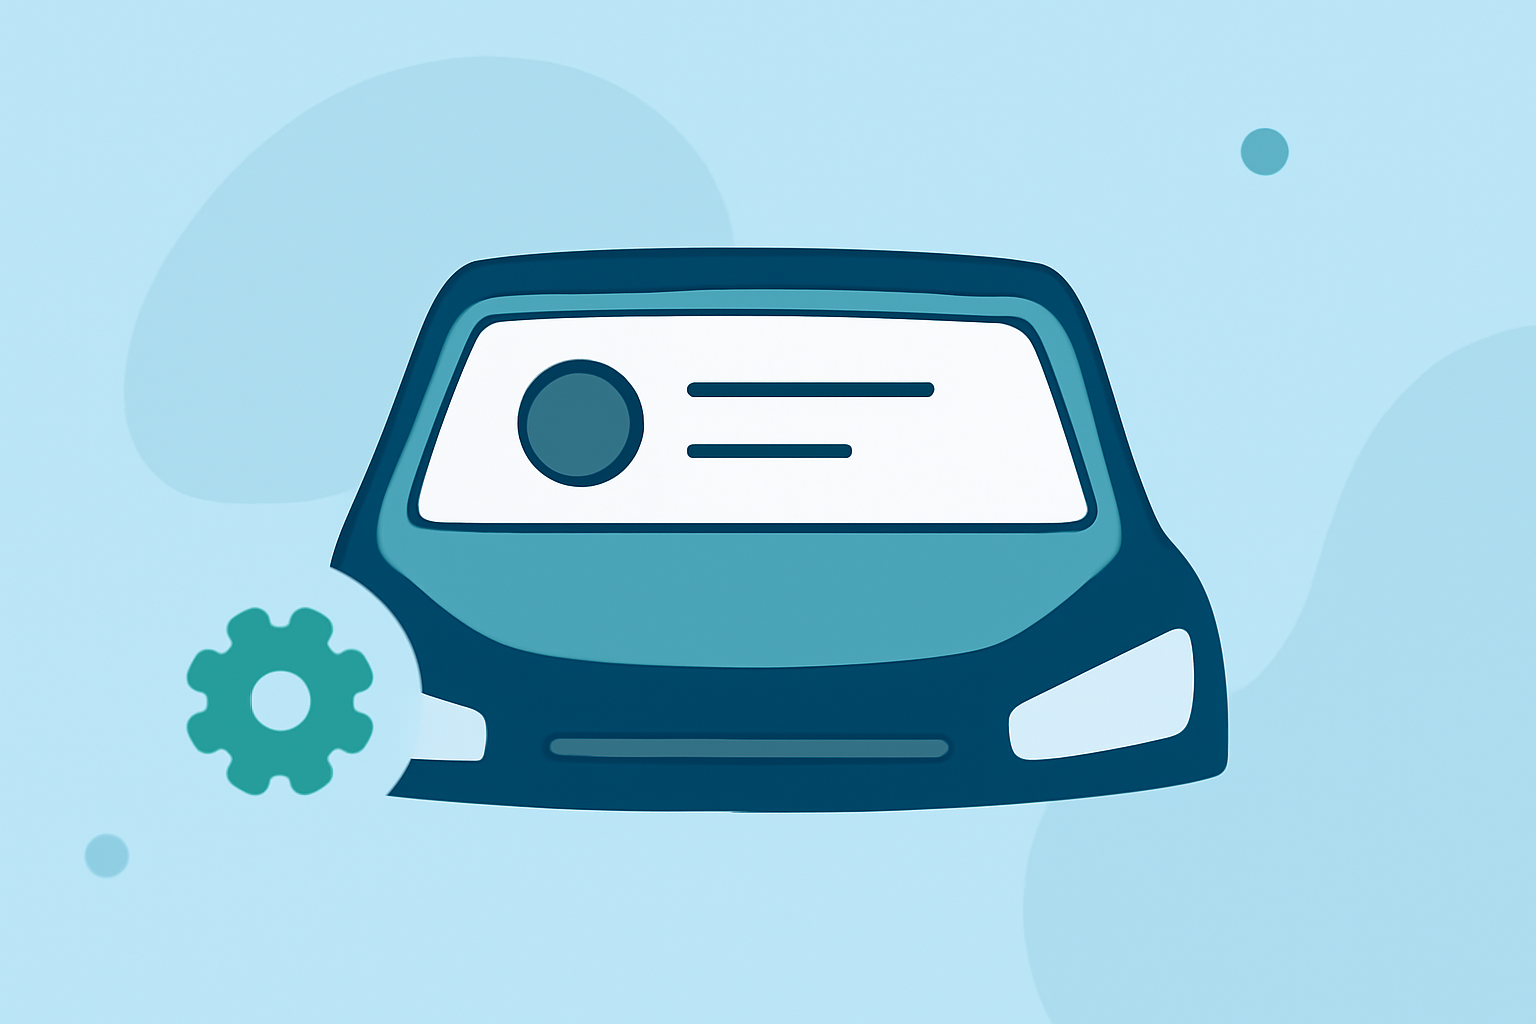
Custom windshield banners are an effective way to personalize your vehicle, promote a business, or showcase team spirit. A well-designed banner not only enhances aesthetics but also ensures visibility and durability. This guide provides a step-by-step workflow for creating and installing custom windshield banners.
1. Define Your Purpose and Design Elements
Before diving into the design process, clarify the banner's purpose:
- Personalization: Reflect your style or interests.
- Branding: Promote a business or event.
- Team Identification: Showcase team logos or slogans.
Once the purpose is clear, consider the following design elements:
- Text: Choose concise, impactful wording.
- Font: Opt for legible fonts that align with your theme.
- Color Scheme: Ensure high contrast for readability.
- Graphics: Incorporate logos or images that complement the text.
2. Measure Your Windshield Accurately
Proper sizing is crucial for a professional appearance:
- Width: Measure the top edge of your windshield from one side to the other.
- Height: Decide on the banner's height, typically between 6–10 inches, depending on the desired prominence.
For example, a 60-inch wide banner is suitable for mid-size sedans and most modern vehicles. (rawdecals.com)
3. Choose the Right Material and Finish
Select materials that ensure durability and visual appeal:
- Vinyl: Offers weather resistance and longevity.
- Finish: Matte finishes reduce glare, while glossy finishes provide a shiny appearance.
Ensure the material is suitable for both indoor and outdoor conditions, especially if the vehicle is exposed to various weather elements. (vispronet.com)
4. Design the Banner Using Appropriate Tools
Utilize design software or online tools to create your banner:
- Design Software: Programs like Adobe Illustrator or Photoshop offer advanced design capabilities.
- Online Tools: Platforms like Pixazo.ai provide AI-driven design assistance, allowing you to generate and customize banner designs efficiently. (pixazo.ai)
5. Prepare for Installation
Proper preparation ensures a smooth application process:
- Clean the Windshield: Use isopropyl alcohol to remove any residues.
- Dry the Surface: Ensure the windshield is completely dry before application.
- Gather Tools: You'll need masking tape, a squeegee, a sharp blade or scissors, and a measuring tape.
6. Install the Banner
Follow these steps for a successful installation:
- Positioning: Use masking tape to temporarily place the banner on the windshield, ensuring it's centered and at the desired height.
- Application: Peel back the backing paper and apply the banner, starting from one side and moving to the other, using a squeegee to eliminate air bubbles.
- Trimming: Once applied, use a sharp blade to trim any excess material along the edges for a clean finish.
Detailed installation guides and videos are available to assist with this process. (happyendingsofficial.com)
7. Maintain the Banner
To prolong the life of your banner:
- Regular Cleaning: Wash with mild soap and water.
- Avoid Harsh Chemicals: Steer clear of abrasive cleaners that can damage the vinyl.
- Inspect Periodically: Check for signs of wear or peeling and address them promptly.
By following this workflow, you can create and install a custom windshield banner that enhances your vehicle's appearance and serves its intended purpose effectively.