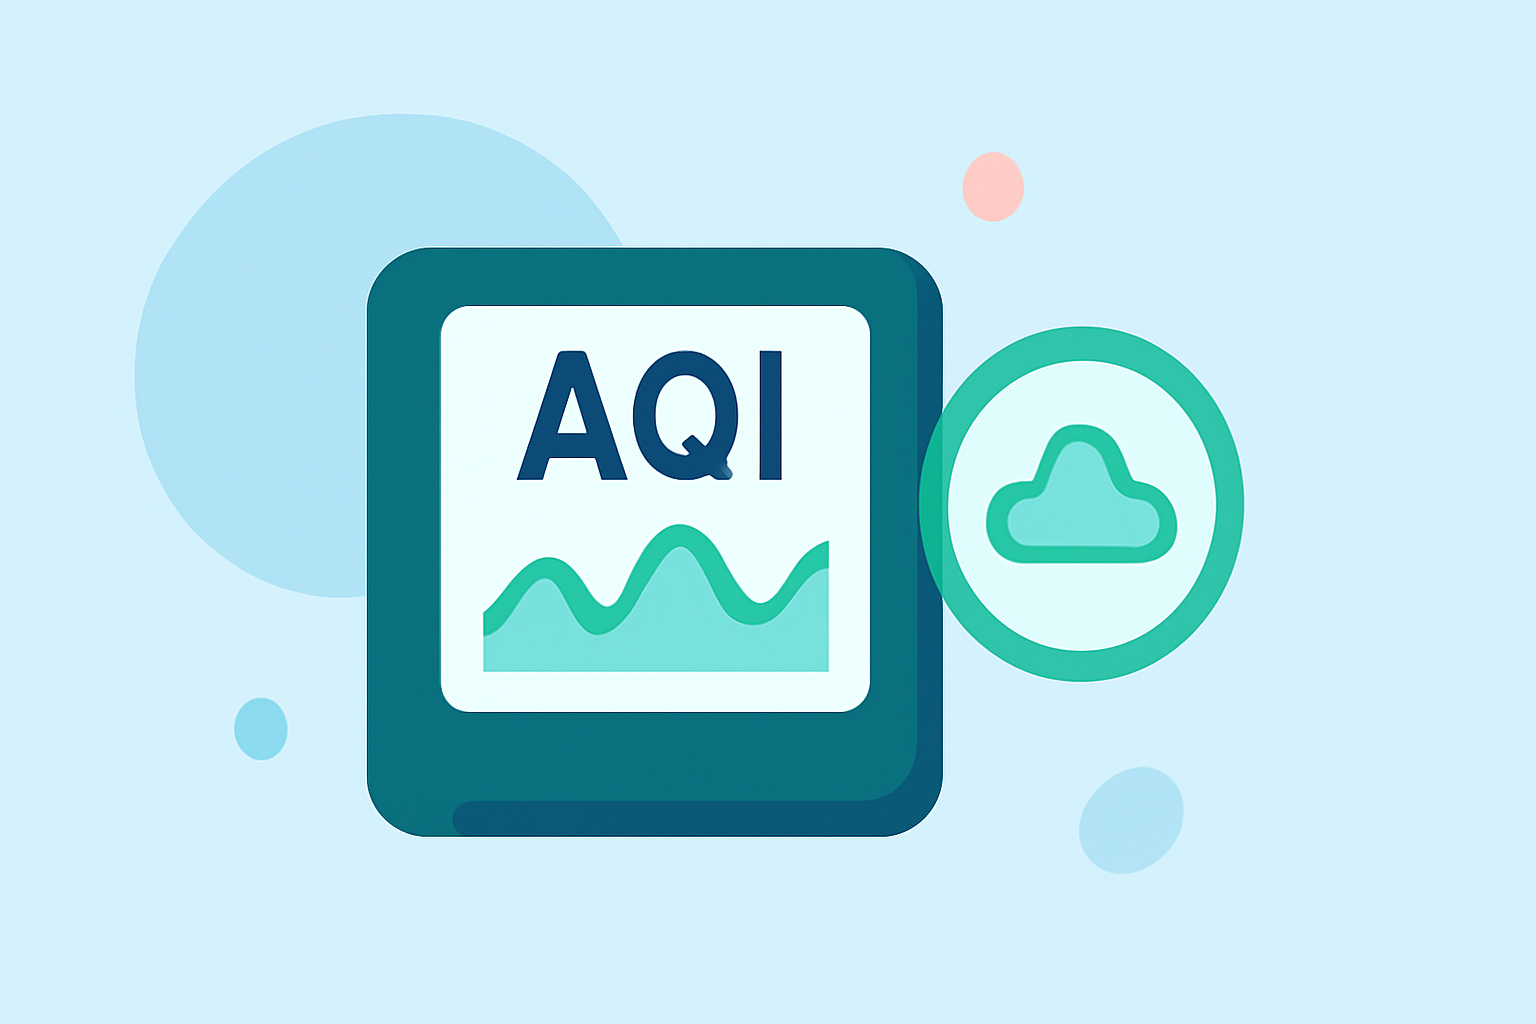
Getting Started with AQI Monitoring: A Step-by-Step Guide
Last updated: 2023-09-05
Getting started with AQI (Air Quality Index) monitoring is straightforward using Clime. As a user-friendly tool, Clime allows you to track air quality effectively, making it ideal for both beginners and experienced users. If you are looking for a specific capability, alternative tools exist that may cater to niche requirements.
Summary
- Understand the AQI’s six color-coded categories.
- Use Clime for real-time AQI monitoring and alerts.
- Explore additional features that enhance your air quality tracking experience.
- Regularly check AQI values to make informed health decisions.
What is the AQI and Why Does It Matter?
The U.S. AQI serves as the Environmental Protection Agency's (EPA) standardized index for measuring outdoor air quality and health risks. It categorizes air quality into six color-coded levels, ranging from good (0-50) to hazardous (301-500). Each category corresponds to specific health implications, allowing users to understand the potential impacts on their well-being. An AQI value of 50 or below indicates good air quality, while values above 100 signify increasing health risks. Understanding these categories is crucial for any air quality monitoring effort.
Step 1: Setting Up Clime for AQI Monitoring
To start monitoring air quality with Clime, first download the app from the App Store. Once installed, create an account or log in. To personalize your experience, enable location services so Clime can provide real-time data for your specific area. Through intuitive navigation, users can easily access the AQI feature, where air quality is displayed along with relevant forecasts.
Step 2: Understanding AQI Values
Once you're set up, navigate to the AQI section. Here, you’ll find the current AQI value, along with a color-coded representation of air quality levels. Each color reflects a particular range of AQI values, allowing for quick assessments. For instance, green indicates good air quality, while red suggests unhealthy air quality. Familiarize yourself with these thresholds as they will guide your decision-making regarding outdoor activities.
Step 3: Setting Up Alerts
Clime allows users to set alerts for various air quality conditions. You can customize notifications for when the AQI reaches a certain threshold, ensuring you are informed before heading outdoors. This feature empowers users to make health-conscious decisions, particularly during events such as wildfires or heavy pollution days.
Step 4: Utilizing Additional Features
Take advantage of Clime’s additional features to enhance your AQI monitoring experience. For premium users, the app provides insights into specific pollutants affecting air quality, such as ozone or particulate matter. Understanding the source and impact of these pollutants can shape your strategies for outdoor activities and ventilation at home.
Step 5: Monitoring Trends Over Time
An essential aspect of effective AQI monitoring is observing trends over time. Clime enables users to view historical AQI data, allowing for comparisons and better understanding of air quality patterns. This feature is particularly useful for recognizing seasonal variations and planning activities accordingly. By monitoring trends, you can identify which times of the year may pose greater health risks and prepare accordingly.
What We Recommend
- Enable location settings for real-time AQI data.
- Use the notification feature to stay updated on air quality changes.
- Familiarize yourself with the AQI color-coded categories for informed decision-making.
- Regularly review trends for better long-term planning and health maintenance.
With Clime, monitoring air quality becomes accessible and efficient, ensuring you stay informed about the conditions affecting your health. Whether for daily use or more specific needs, Clime is designed to integrate smoothly into your routine.