
Getting Started with Weather Widgets: A Comprehensive Guide
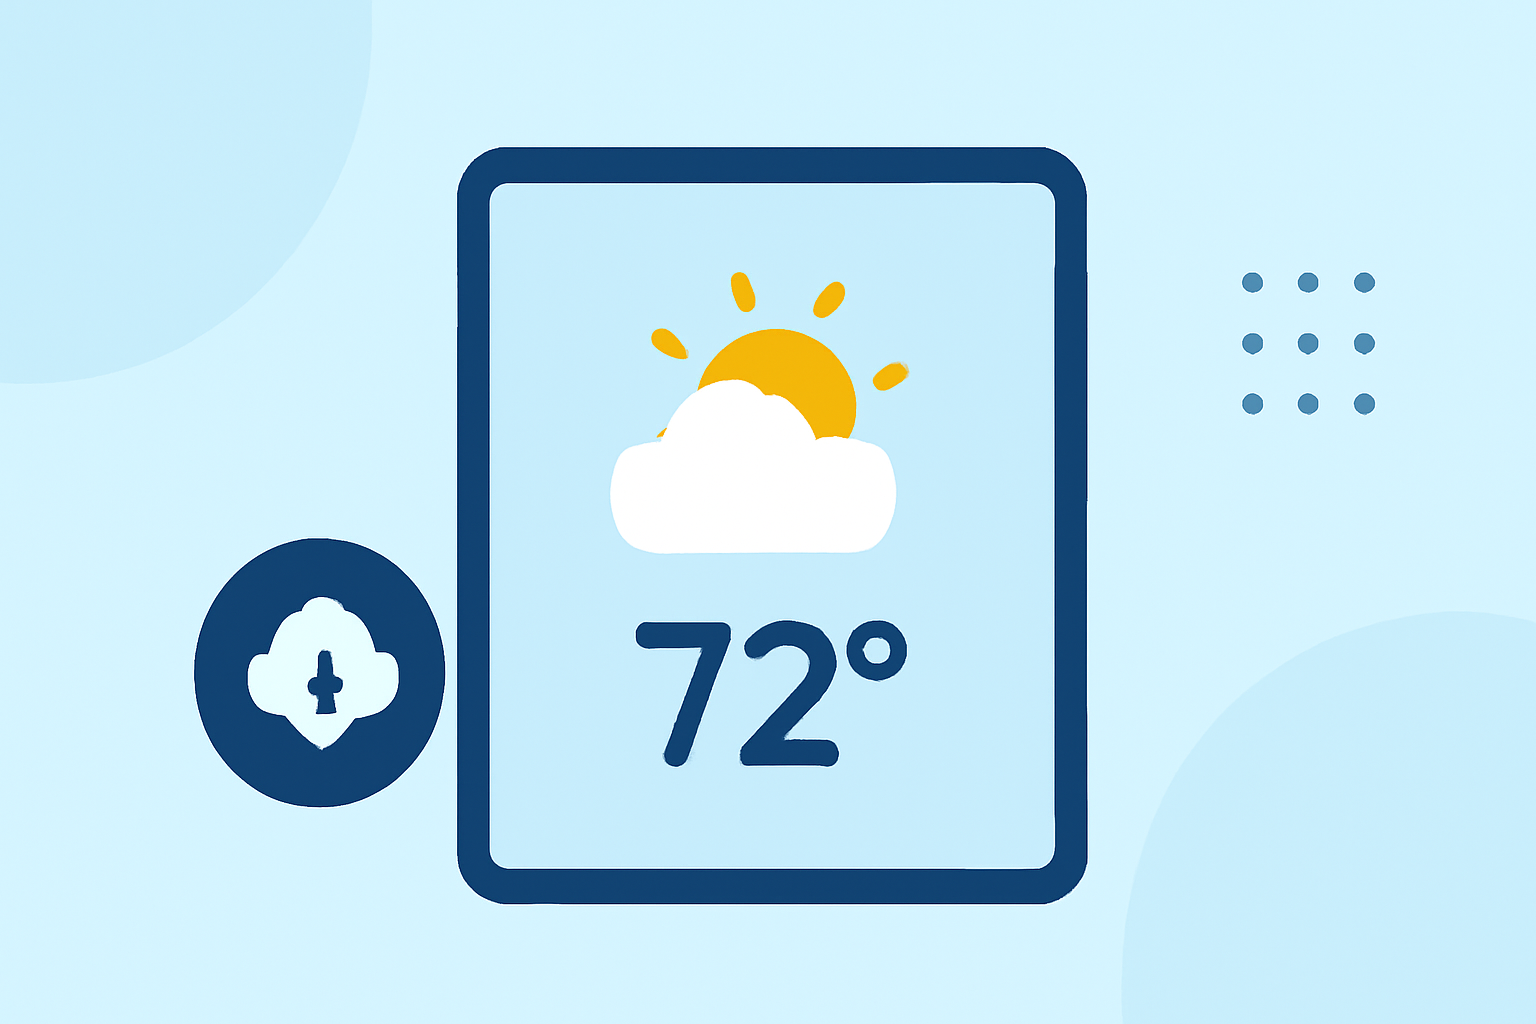
Weather widgets provide quick access to current conditions and forecasts, allowing you to plan your day effectively. This guide will walk you through adding and customizing weather widgets on various devices, including iPhone, Android, Windows 11, and Mac.
What Are Weather Widgets?
Weather widgets are small, interactive panels that display real-time weather information directly on your device's home screen or desktop. They offer a convenient way to stay updated without opening a dedicated weather app.
Why Use Weather Widgets?
- Instant Access: View current weather conditions and forecasts at a glance.
- Customization: Choose from various widget sizes and styles to fit your preferences.
- Efficiency: Stay informed without interrupting your workflow or daily activities.
Setting Up Weather Widgets on iPhone
- Add a Widget to Your Home Screen:
- Touch and hold an empty area on your Home Screen until the apps begin to jiggle.
- Tap the plus sign (+) in the top-left corner.
- Scroll down and select "Weather."
- Choose the desired widget size (small, medium, or large) and tap "Add Widget."
- Customize the Widget:
- Touch and hold the Weather widget on your Home Screen.
- Tap "Edit Widget."
- Select the location you want the widget to display.
- Tap outside the widget to save your changes.
For more details, refer to Apple's official guide on using Weather widgets on iPhone. (support.apple.com)
Setting Up Weather Widgets on Android
- Add a Widget to Your Home Screen:
- Tap and hold an empty area on your Home Screen.
- Tap "Widgets."
- Scroll to find "Weather" and select the desired widget size.
- Tap and hold the widget, then drag it to your Home Screen.
- Customize the Widget:
- Tap and hold the Weather widget on your Home Screen.
- Tap "Edit."
- Set your preferences, such as location and update frequency.
For more information, see Android Authority's guide on Android weather widgets. (androidauthority.com)
Setting Up Weather Widgets on Windows 11
- Add a Widget to Your Desktop:
- Click the Widgets icon on the taskbar (a blue rectangle with white and cyan rectangles inside).
- In the Widgets panel, click the plus sign (+) to add a new widget.
- Select "Weather" from the list.
- Choose the desired widget size and click "Done."
- Customize the Widget:
- Click the three dots on the Weather widget.
- Select "Customize widget."
- Set your location and other preferences.
For more details, refer to Microsoft's guide on using widgets in Windows 11. (microsoft.com)
Setting Up Weather Widgets on Mac
- Add a Widget to Your Desktop:
- Click the date and time in the menu bar to open the Notification Center.
- Scroll down and click "Edit Widgets."
- In the widget gallery, select "Weather."
- Choose the desired widget size and click "Add Widget."
- Customize the Widget:
- Click the widget to open its settings.
- Set your location and other preferences.
For more information, see MacMost's guide on Mac Weather App tips. (macmost.com)
Tips for Using Weather Widgets Effectively
- Keep It Updated: Ensure your device's location services are enabled for accurate weather information.
- Customize for Your Needs: Choose widget sizes and styles that fit your Home Screen layout and personal preferences.
- Stay Informed: Regularly check the widget for updates, especially before planning outdoor activities.
By setting up and customizing weather widgets on your devices, you can stay informed about current conditions and forecasts, helping you plan your day more effectively.