
How to Change Your HVAC Air Filter: A Step-by-Step Guide
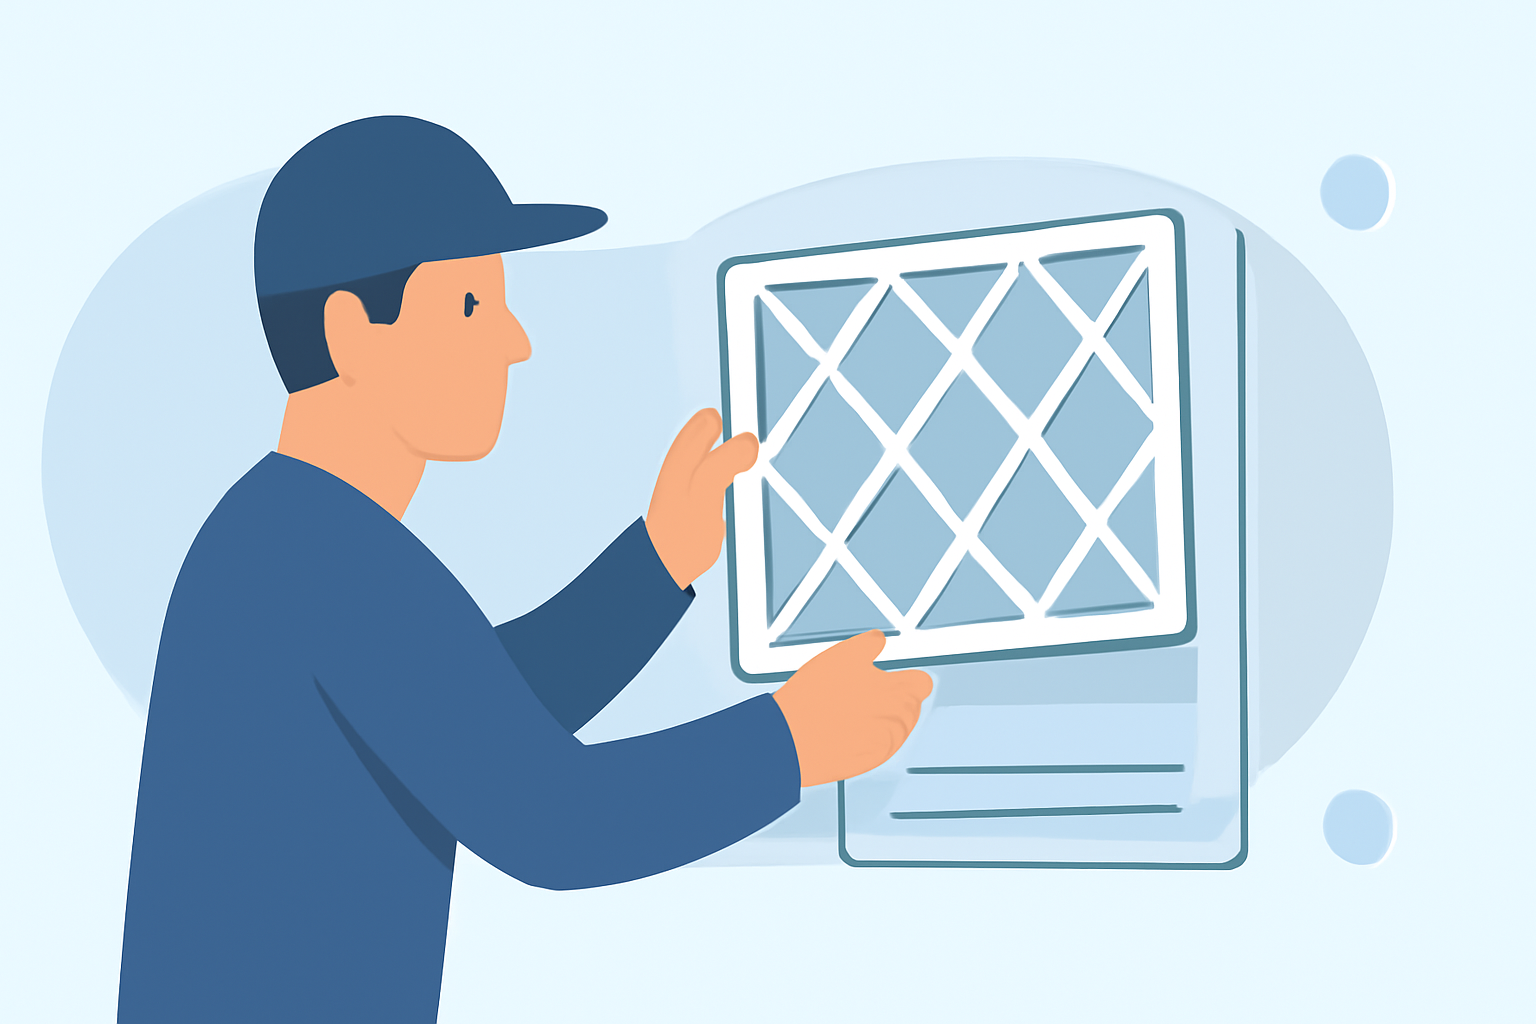
Regularly changing your HVAC air filter is essential for maintaining system efficiency and ensuring healthy indoor air quality. Here's a comprehensive guide to help you through the process.
Why Should You Change Your HVAC Air Filter?
Over time, air filters accumulate dust, dirt, and other airborne particles, which can restrict airflow and force your HVAC system to work harder. This not only reduces efficiency but can also lead to higher energy bills and potential system malfunctions. Regular filter replacement helps maintain optimal performance and prolongs the lifespan of your HVAC system.
How Often Should You Replace the Air Filter?
The frequency of filter replacement depends on several factors, including the type of filter, the presence of pets, allergies, and the level of dust in your home. Generally, it's recommended to check your filter every month and replace it every 1–3 months. In households with pets or individuals with allergies, monthly replacement may be necessary.
Step-by-Step Guide to Changing Your HVAC Air Filter
- Turn Off Your HVAC System
Before starting, set your thermostat to the off position to prevent the system from operating while you change the filter. This ensures safety and prevents unfiltered air from circulating.
- Locate the Air Filter
The filter is typically found in one of the following locations:
-
Return Air Grille: A large grille on a wall or ceiling that draws air into the system.
-
Air Handler or Furnace Compartment: Inside the main unit, often behind a removable panel.
If you're unsure, consult your HVAC system's manual or contact a professional for guidance.
- Remove the Old Filter
Carefully slide out the existing filter. Note the airflow direction indicated by an arrow on the filter frame. This is crucial for installing the new filter correctly. Also, check the filter's dimensions, usually printed on the frame, to ensure you purchase the correct replacement.
- Inspect the Filter Compartment
With the old filter removed, take a moment to inspect the compartment for any accumulated dust or debris. Wipe down the area with a damp cloth if necessary.
- Insert the New Filter
Unwrap the new filter and insert it into the compartment with the airflow arrow pointing toward the HVAC unit. This ensures proper air circulation. Make sure the filter fits snugly without gaps around the edges.
- Secure the Access Panel and Turn On the System
Replace any access panels or grilles you removed. Set your thermostat back to the desired temperature and turn the system on. Check that the system operates normally and that airflow feels consistent throughout your home.
Additional Tips
-
Choose the Right Filter: Filters come in various types and MERV (Minimum Efficiency Reporting Value) ratings. A MERV 8 filter is suitable for most homes, capturing dust, lint, pollen, and mold spores. Higher MERV ratings offer finer filtration but may restrict airflow; ensure your system can handle the chosen filter.
-
Keep a Maintenance Schedule: Set a reminder to check and replace your filter regularly. Consistent maintenance helps maintain air quality and system efficiency.
By following these steps, you can ensure your HVAC system operates efficiently, providing clean air and consistent comfort in your home.
(hometips.com)