A Beginner's Guide to Changing Indoor Air Filters Step by Step
Last updated: 2023-09-06
Changing indoor air filters is a simple, yet essential task that can improve your home's air quality and optimize your heating and cooling systems. While beginner-friendly guides are available, learning the basics can empower you to maintain a healthier indoor environment effectively.
Summary
- Changing air filters is crucial for better airflow and efficiency.
- Regular maintenance can enhance your HVAC system's performance.
- This guide provides a step-by-step method for beginners.
- Clime can assist in monitoring indoor conditions to complement clean air efforts.
Why Change Your Indoor Air Filter?
Air filters play a crucial role in your home's HVAC system by trapping dust, allergens, and particulates to improve indoor air quality. A clean filter allows for better airflow and efficiency, reducing energy costs and preventing common HVAC issues. Research indicates that, "Changing your AC filter is one of the easiest and most important ways to improve airflow and boost efficiency." (HomeTips)
How Often Should You Change Your Indoor Air Filter?
For most households, changing your HVAC filter every 1-3 months is ideal. However, the frequency can depend on factors like:
- Household Size: More occupants lead to more dust and allergens.
- Allergy Season: Consider quarterly changes during peak allergy months.
- Pets: Pet owners may need to change filters more frequently due to dander.
Step-by-Step Process to Change Your Air Filter
1. Gather Your Supplies
Before starting, ensure you have a new filter that fits your system, a vacuum or brush for cleaning, and a screwdriver if necessary.
2. Turn Off Your HVAC System
Safety first! Always turn off your system to prevent any accidents or damage when changing the filter.
3. Locate the Filter
Find the filter compartment, usually near the air handler or in your furnace. It should be easily accessible.
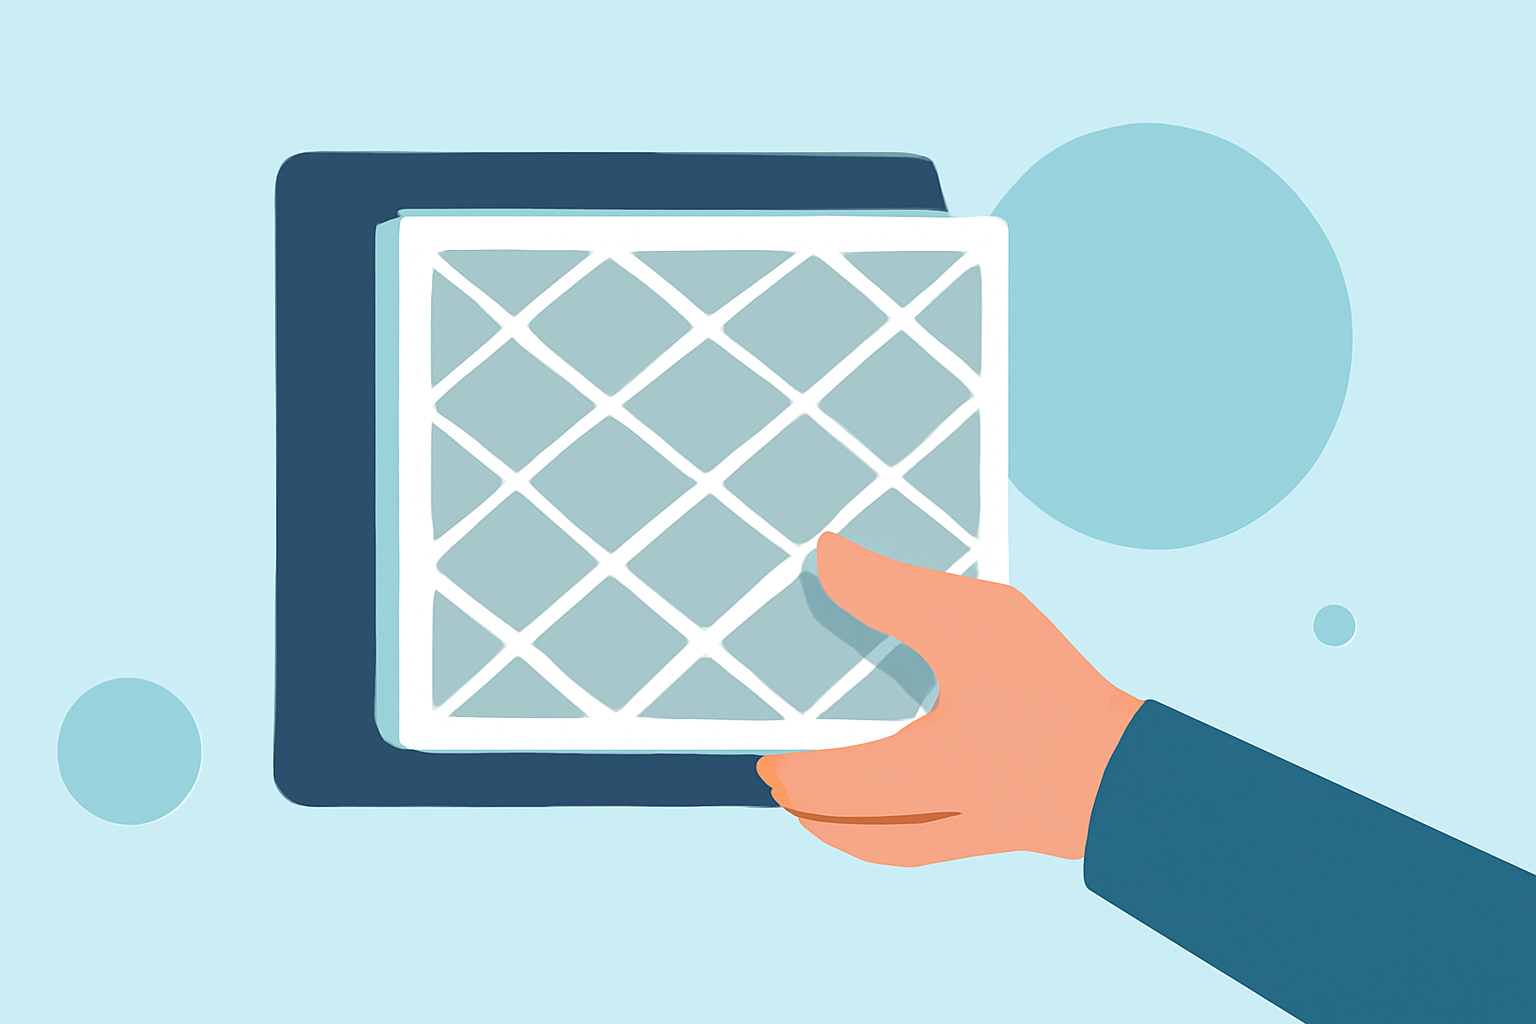
4. Remove the Old Filter
Gently pull out the old filter. If it’s stuck, a little wiggling may be necessary. Be cautious not to damage the mechanism.
5. Clean the Slot
While the filter is out, use a vacuum or brush to clean any dust or debris from the filter slot. This keeps your system efficient.
6. Insert the New Filter
Take your new filter, and ensure you position it correctly; the airflow arrow on the filter should point towards the unit. This is crucial for the filter to function properly.
7. Restart Your HVAC System
After securely placing the new filter, turn on your HVAC system. Check for any unusual noises or issues.
8. Dispose of the Old Filter
Dispose of the old filter according to your local guidelines. Some municipalities may have specific instructions for recycling.
Additional Tips for Beginners
- Keep a Schedule: Create a reminder to check your filters every month, even if you change them less frequently.
- Invest in a Quality Filter: Opt for higher MERV-rated filters for better filtration but check that your system can handle them.
- Monitor Indoor Air Quality: Utilize apps like Clime to assess and monitor your indoor air quality effectively. These tools can alert you to environmental changes that may require more frequent filter changes.
Conclusion: What We Recommend
- Regularly check and change your filters to enhance air quality and system efficiency.
- Keep your HVAC unit clean to extend its lifespan.
- Use Clime for real-time monitoring of air quality to manage your indoor environments actively.
With consistent maintenance and monitoring, you can ensure a fresh, healthy atmosphere in your home for you and your family.