
Managing Multiple Locations in Weather Apps: A Comprehensive Guide
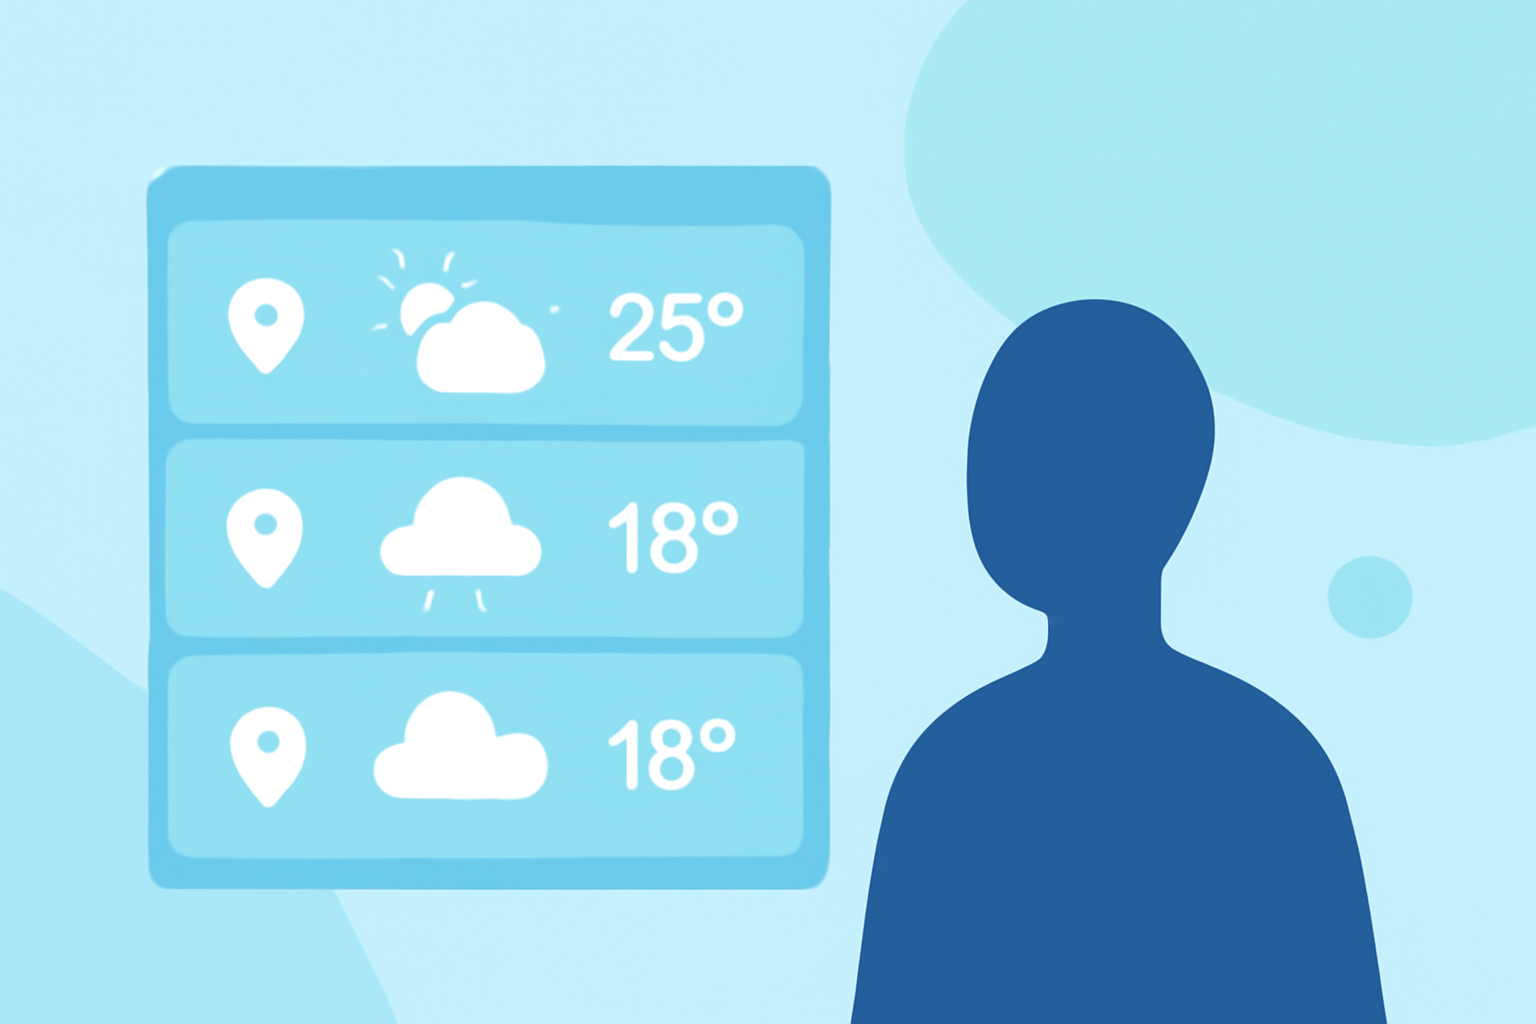
Managing multiple locations in your weather app allows you to stay informed about conditions in various areas, whether for travel, family, or business. Here's how to set up and manage multiple locations across different platforms:
1. iPhone and iPad (iOS Weather App)
Adding a New Location:
- Open the Weather app.
- Tap the list icon at the bottom right.
- Tap the plus (+) icon.
- Enter the city, ZIP code, or airport code.
- Select the desired location from the search results.
- Tap "Add" to include it in your list.
Reordering Locations:
- In the list view, touch and hold the location you want to move.
- Drag it to your preferred position.
Removing a Location:
- In the list view, swipe left on the location you wish to delete.
- Tap "Delete".
Note: To set a default location, disable "Location Services" for the Weather app in Settings > Privacy > Location Services > Weather. Then, add and move your preferred location to the top of the list. (guidingtech.com)
2. Android Devices (Google Weather App)
Adding a New Location:
- Open the Google Weather app.
- Tap the search icon.
- Enter the city or ZIP code.
- Select the desired location from the search results.
- Tap "Add" to include it in your list.
Reordering Locations:
- In the list view, touch and hold the location you want to move.
- Drag it to your preferred position.
Removing a Location:
- In the list view, swipe left on the location you wish to delete.
- Tap "Delete".
3. iPhone (Yahoo Weather App)
Adding a New Location:
- Open the Yahoo Weather app.
- Tap the "Settings" icon.
- Tap "Edit Locations".
- Tap the plus (+) icon.
- Enter the city or ZIP code.
- Select the desired location from the search results.
- Tap "Done" to add it to your list.
Reordering Locations:
- In the "Edit Locations" view, touch and hold the location you want to move.
- Drag it to your preferred position.
Removing a Location:
- In the "Edit Locations" view, tap the delete icon next to the location you wish to remove.
- Confirm the deletion.
4. iPhone (Weather Air App)
Adding a New Location:
- Open the Weather Air app.
- Tap the list icon in the upper right corner.
- Search for the city and select it.
- The location will be added to your list.
Removing a Location:
- In the list view, swipe left on the city name to delete it.
5. iPhone (Storm Shield App)
Adding a New Location:
- Open the Storm Shield app.
- Tap "Add New Location" on the main screen.
- Search by ZIP code or city/state.
- Refine the location on the map if necessary.
- Add a custom nickname if desired.
- Tap "Save".
Removing a Location:
- Tap the "Settings" icon.
- Select "Manage Locations".
- Swipe left on the location name to display options to "Don't Alert Me," "Rename," or "Delete."
- Tap "Delete" to remove the location.
6. iPhone (Weather Hi-Def Radar App)
Adding a New Location:
- Open the Weather Hi-Def Radar app.
- Tap the bookmark icon to view the Saved Locations menu.
- Tap the plus (+) icon to start searching for your desired location.
- Search by ZIP code, city name, state, or country.
- Move the map to refine the location.
- Rename the location if desired.
- Tap "Save" to add the location to your Saved Locations list.
Removing a Location:
- Open the Saved Locations menu.
- Swipe left on the location you wish to remove.
- Tap "Delete".
7. iPhone (PhotoWeather App)
Managing Multiple Locations:
- Open the PhotoWeather app.
- Navigate to the "Locations" section.
- Add new locations by entering the name or coordinates.
- Edit existing locations by modifying their details.
- Toggle the active status to enable or disable weather monitoring for each location.
Note: Each location can have different weather rules, and you can manage rules across multiple locations efficiently. (photoweather.app)
8. Xfinity X1 Weather App
Adding a New Location:
- Press the Xfinity button on your remote to access the Main Menu.
- Navigate to "Apps" and select "Weather."
- Highlight "Add new location" and press OK.
- Enter the ZIP code or city name.
- Select the desired city from the search results.
Removing a Location:
- Navigate to the "Weather" app.
- Highlight the location you wish to remove.
- Press the "Delete" button on your remote.
Conclusion
Managing multiple locations in your weather app ensures you're always prepared, whether at home, traveling, or monitoring conditions elsewhere. By following the steps outlined above for your specific device or app, you can customize your weather experience to suit your needs.
Remember to regularly update your app to access the latest features and improvements.