
Mastering Heat Press Techniques: A Step-by-Step Guide
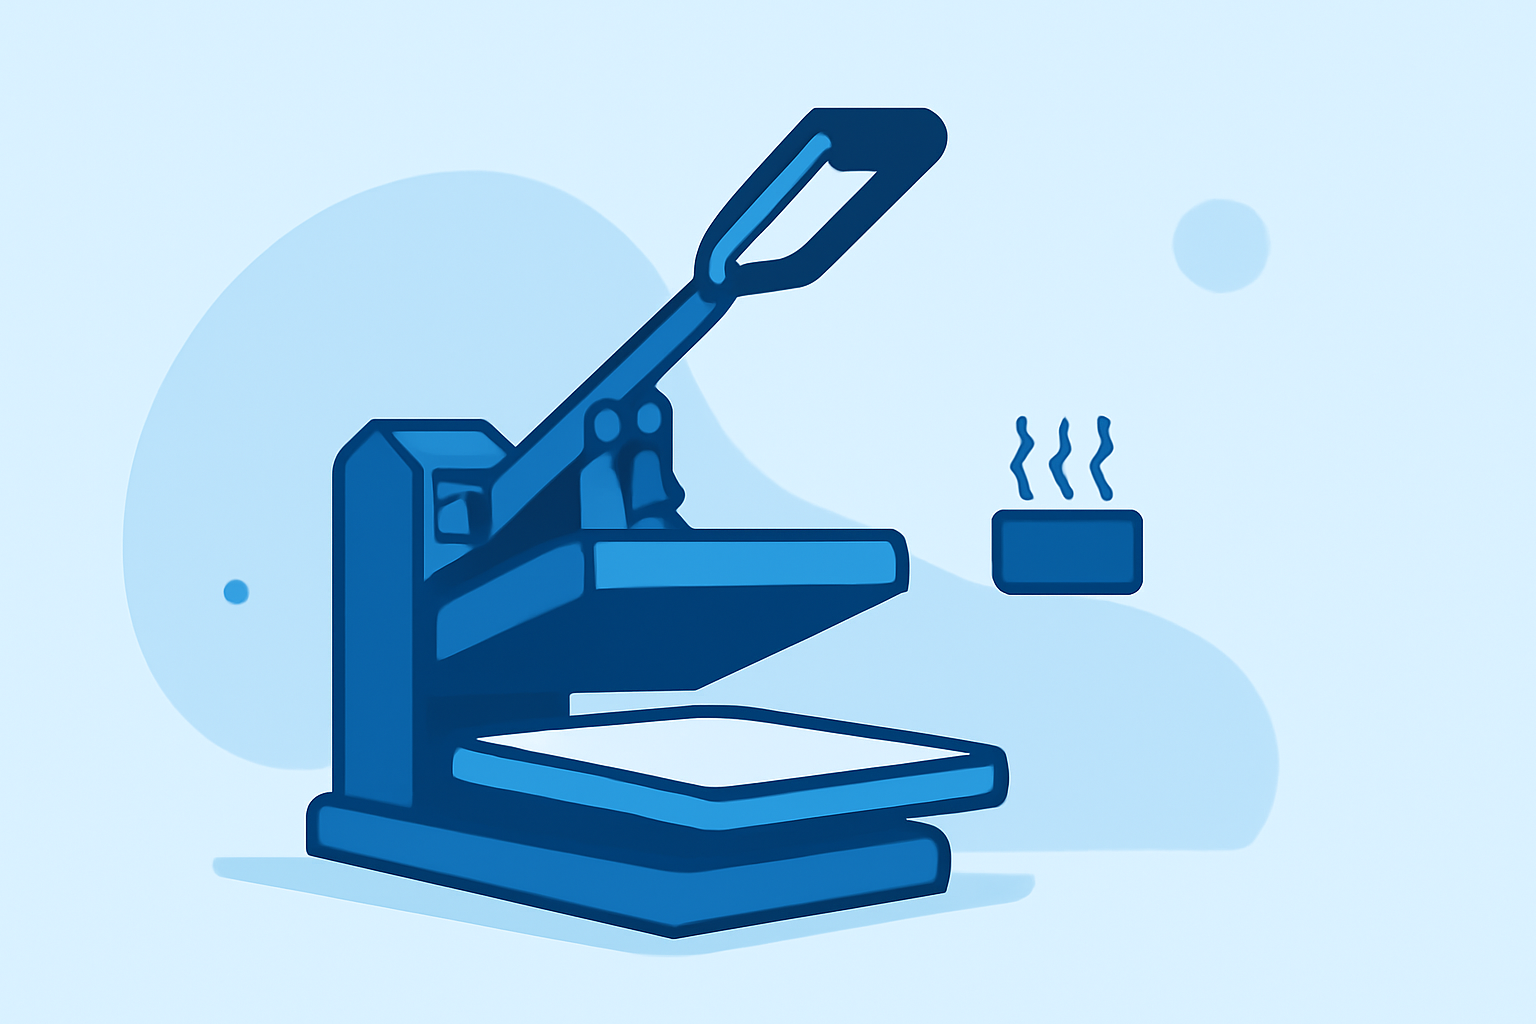
A heat press is a versatile tool that allows you to transfer designs onto various materials, such as fabrics, ceramics, and metals. Whether you're customizing apparel, creating promotional items, or crafting personalized gifts, understanding the proper use of a heat press is crucial for achieving professional-quality results.
1. What Is a Heat Press?
A heat press is a machine that applies heat and pressure to transfer designs onto substrates. It consists of two heated platens—an upper and a lower—that sandwich the material and the transfer medium, such as heat transfer vinyl (HTV), sublimation paper, or direct-to-film (DTF) transfers.
2. Essential Equipment and Materials
Before you begin, gather the following items:
- Heat Press Machine: Choose a model that suits your production needs and workspace.
- Transfer Materials: Depending on your project, this could be HTV, sublimation paper, or DTF transfers.
- Substrate: The item you're transferring the design onto, such as a t-shirt, mug, or tote bag.
- Protective Sheets: Teflon sheets or parchment paper to protect your materials and the heat press platen.
- Heat-Resistant Tape: To secure the transfer in place during pressing.
3. Preparing Your Workspace
A clean and organized workspace ensures consistent results:
- Clean the Substrate: Remove any lint or debris using a lint roller to prevent imperfections in the transfer.
- Pre-Press the Substrate: Place the item on the heat press and press for 3-5 seconds to eliminate moisture and wrinkles, providing a smooth surface for the transfer.
4. Setting Up the Heat Press
Proper settings are vital for a successful transfer:
- Temperature: Set according to the transfer material's specifications. For example, HTV often requires 305°F (152°C).
- Time: Adjust based on the material and design complexity.
- Pressure: Ensure it's firm but not excessive to avoid damaging the substrate.
5. Applying the Transfer
Follow these steps for a successful transfer:
- Position the Transfer: Place the design on the substrate, ensuring it's correctly aligned.
- Cover with Protective Sheet: Place a Teflon sheet or parchment paper over the transfer to protect both the design and the heat press platen.
- Press: Close the heat press and apply the specified time and pressure.
- Peel the Transfer: After pressing, carefully peel away the transfer material, following the recommended peel method (hot, warm, or cold) for your specific transfer type.
6. Post-Press Care
To ensure the longevity of your design:
- Curing: Some transfers, like DTF, may require additional curing time or heat to set the design properly.
- Washing Instructions: Follow the manufacturer's guidelines for washing and caring for the item to maintain the design's quality.
7. Troubleshooting Common Issues
If you encounter problems, consider the following:
- Uneven Pressure: Check if the heat press platen is level and adjust the pressure accordingly.
- Inconsistent Temperature: Use a heat press thermometer to verify the machine's temperature accuracy.
- Adhesion Problems: Ensure you're using the correct settings for the specific transfer material and substrate.
By following these steps and understanding the nuances of your materials and equipment, you can achieve high-quality, durable transfers for a variety of projects.
For more detailed tutorials and troubleshooting tips, consider exploring comprehensive guides and resources available online.