
How to Replace Carbon Filters in Air Purifiers: A Step-by-Step Guide
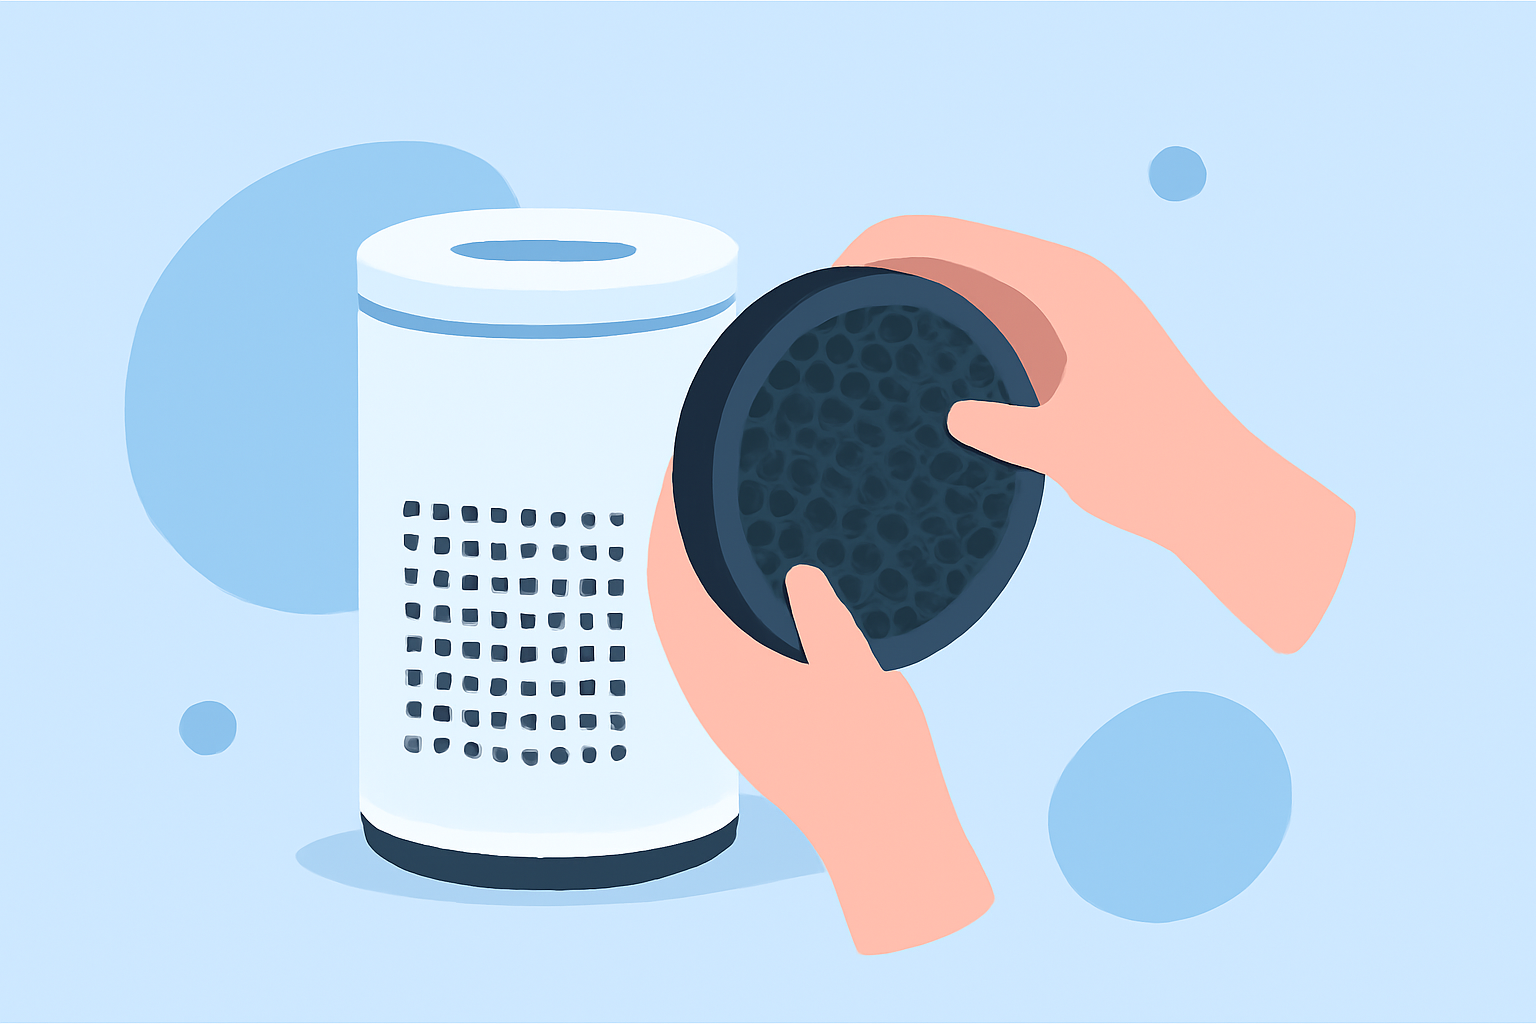
Maintaining clean indoor air is essential for health and comfort. One effective way to achieve this is by using air purifiers equipped with carbon filters. These filters are designed to remove gases, odors, and chemical pollutants from the air, enhancing overall air quality. Regular replacement of these filters ensures they function effectively.
What Are Carbon Filters and Why Are They Important?
Carbon filters, often referred to as activated carbon filters, utilize a highly porous material to trap airborne contaminants. They are particularly effective at adsorbing volatile organic compounds (VOCs), smoke, and odors, making them a valuable component in air purification systems. Regular replacement of these filters is crucial to maintain their efficiency and ensure optimal air quality.
When Should You Replace Your Carbon Filter?
The lifespan of a carbon filter depends on factors such as usage frequency, air quality, and the specific environment. Generally, it's recommended to replace carbon filters every 3 to 6 months. Signs that your filter may need replacement include:
-
Lingering odors despite the purifier running.
-
A noticeable decrease in air quality.
-
Visible discoloration or damage to the filter.
Step-by-Step Guide to Replacing Your Carbon Filter
- Turn Off and Unplug the Air Purifier
Safety first. Ensure the device is powered off and disconnected from the electrical outlet to prevent any electrical hazards.
- Access the Filter Compartment
Depending on your air purifier model, locate and open the filter compartment. This may involve removing a front or top panel. Refer to your user manual for specific instructions.
- Remove the Old Carbon Filter
Carefully take out the existing carbon filter. Handle it gently to avoid releasing trapped contaminants back into the air.
- Inspect and Clean the Area
Before installing a new filter, check the filter compartment for any dust or debris. Use a dry cloth to wipe down the area, ensuring a clean environment for the new filter.
- Install the New Carbon Filter
Place the new filter into the compartment, ensuring it fits securely and is oriented correctly. Some filters have arrows indicating the direction of airflow; align them accordingly.
- Reassemble the Air Purifier
Once the new filter is in place, reattach any panels or covers that were removed. Ensure everything is securely fastened.
- Reset the Filter Indicator (If Applicable)
Many modern air purifiers have a filter replacement indicator. After installing the new filter, reset this indicator according to the manufacturer's instructions, often by pressing and holding a specific button for a few seconds.
- Plug In and Test the Air Purifier
Reconnect the device to the power source, turn it on, and verify that it's operating correctly.
Additional Tips
-
Consult the User Manual: Always refer to your air purifier's user manual for model-specific instructions.
-
Regular Maintenance: In addition to replacing the carbon filter, clean other components like pre-filters and HEPA filters as recommended to maintain overall air purifier performance.
-
Proper Disposal: Dispose of the old filter responsibly. Some filters may require special handling due to the contaminants they've trapped.
By following these steps, you can ensure that your air purifier continues to provide clean and fresh air, contributing to a healthier indoor environment.
(alen.com)