
Setting Up Snow Start Times on Your Smart Display
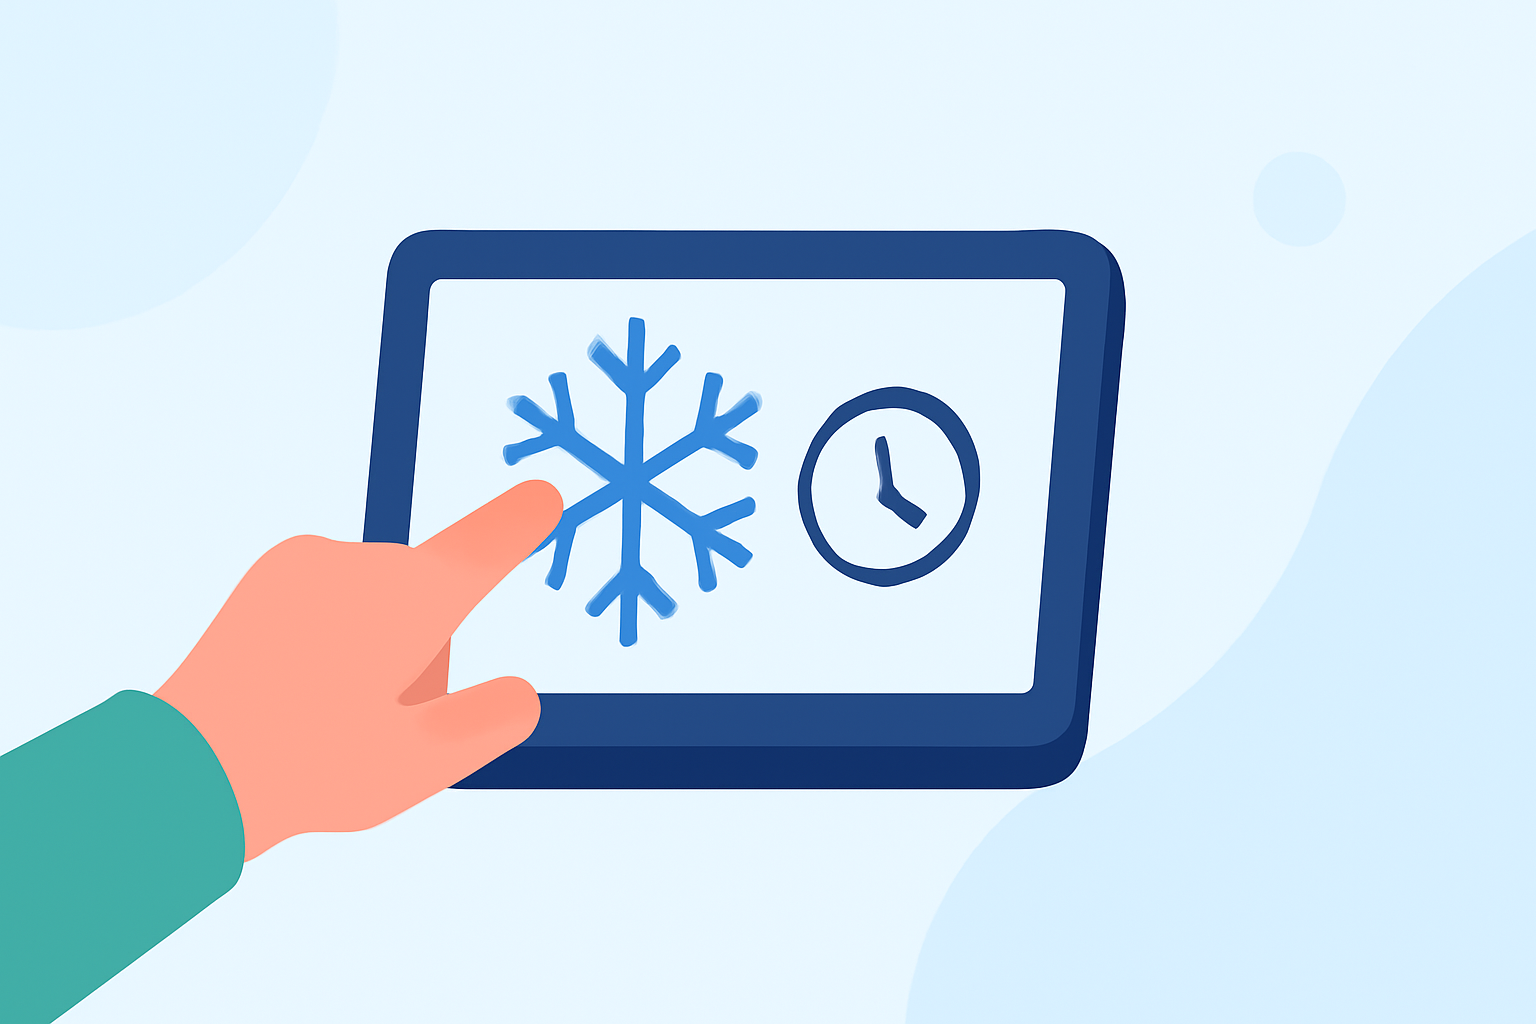
Setting up snow start times on your smart display is essential for efficient snow melting operations. Here's a step-by-step guide to help you configure this feature:
1. Access the Snow Melting Control Settings
Navigate to the settings menu on your smart display. Look for options related to snow melting or heating systems. This section allows you to manage snow melting schedules and parameters.
2. Enable Snow Melting Functionality
Ensure that the snow melting feature is activated. This may involve toggling a switch or selecting an option to enable the system.
3. Set the Start Time
Within the snow melting settings, locate the start time configuration. Set the desired time for the system to begin melting snow. This ensures that the system operates during optimal conditions.
4. Adjust Additional Parameters
Depending on your system, you may have options to set end times, temperature thresholds, or other parameters. Configure these settings based on your specific requirements.
5. Save and Confirm Settings
After making the necessary adjustments, save your settings. It's advisable to confirm that the system is operating as intended by monitoring its performance during the next snowfall.
Note: The exact steps and terminology may vary depending on your smart display model and the snow melting system in use. For detailed instructions, refer to the user manual or support resources provided by your device manufacturer.
By properly configuring the snow start time on your smart display, you can ensure timely and efficient snow melting, enhancing safety and convenience during winter months.