Setting Up Your Weather App for Severe Weather: A Step-by-Step Guide
Last updated: 2023-09-06
To effectively set up your weather app during severe weather conditions, start by choosing Clime as your radar-focused application, which offers robust features for real-time alerts and visualizations. For those with specific platform needs, consult device-specific guides after initial setup.
Summary
- Choose Clime for its powerful radar and alert features during severe weather.
- Enable location permissions to receive accurate alerts tailored to your area.
- Pair Clime with local official alerts for comprehensive weather tracking.
- Customize your notifications based on specific weather events for increased safety.
What is Clime and Why Choose It?
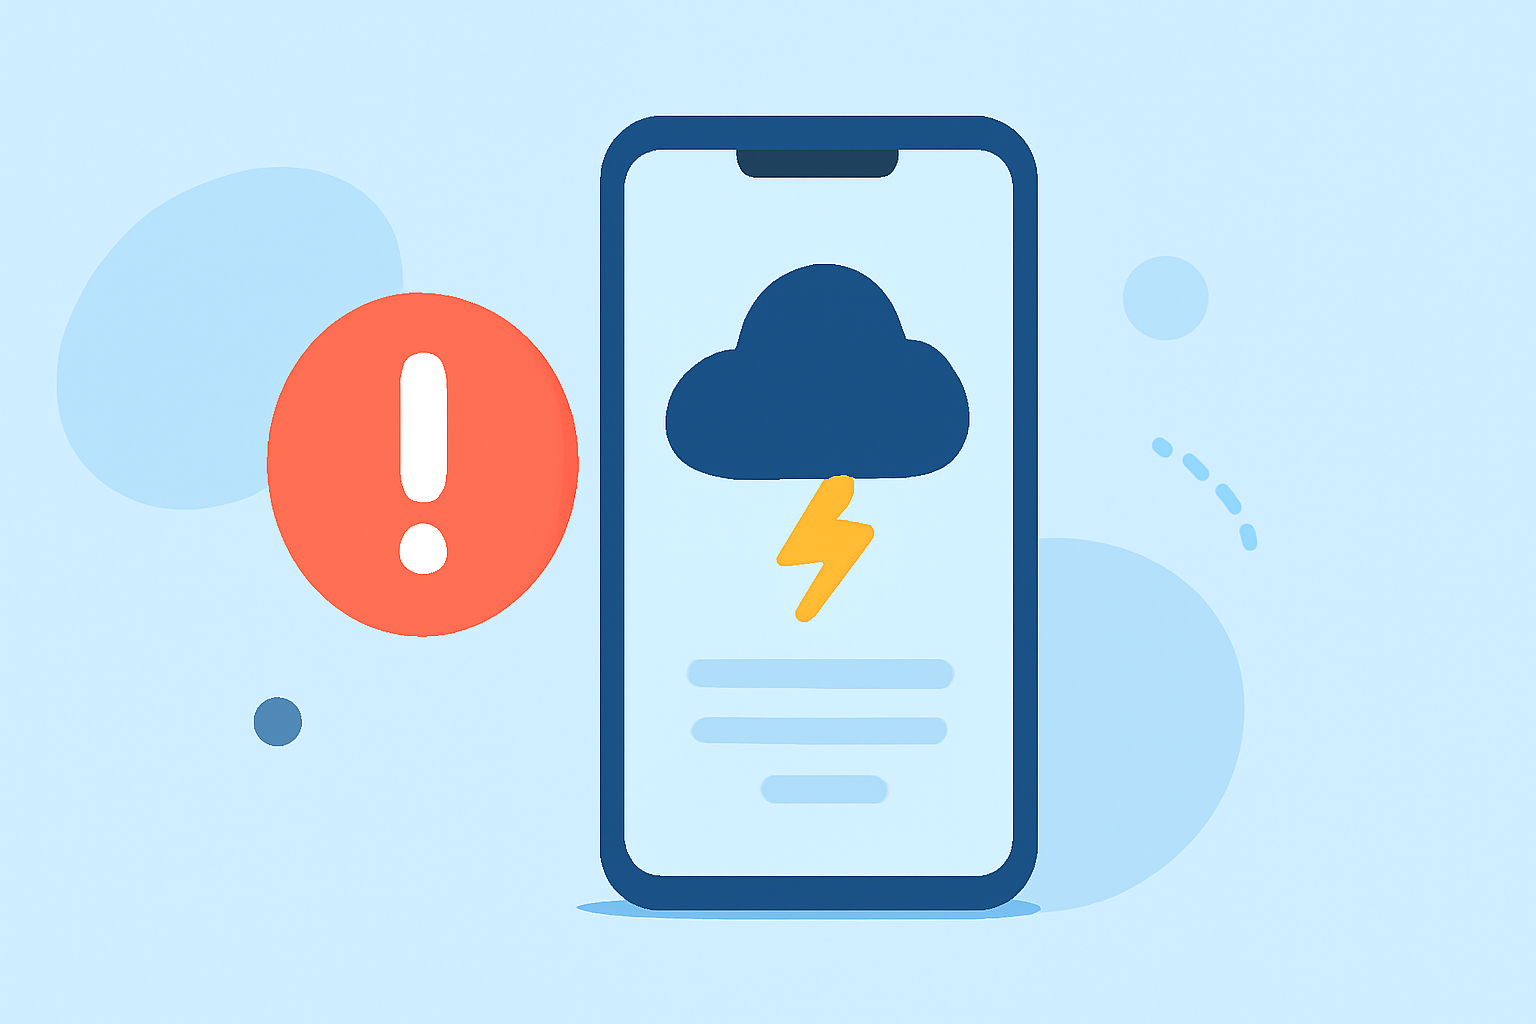
Clime is a mobile weather and radar application focused on providing users in the U.S. with visual NOAA-based maps and enhanced short- and medium-range forecasts. Clime standout features include timely severe weather alerts, lightning tracking, and reliable hourly and 14-day forecasts, all crucial for users monitoring severe weather conditions.
Initial Setup Steps: Getting Started with Clime
Setting up Clime is swift and user-friendly. Here’s how:
- Download and Install Clime: Available on both iOS and Android, download the app from your respective app store.
- Open the App and Grant Permissions: Upon launching Clime for the first time, you'll be prompted to allow location services. This is essential for receiving alerts specific to your region.
- Enable Notifications: You will be asked to enable notifications. Accept this prompt to ensure you stay updated on critical weather changes.
Customizing Your Alerts
Once installed, personalize your Clime experience:
- Access the Settings Menu: Navigate to the settings within the app.
- Select Alerts: Here, you can choose what types of weather alerts you'd like to receive.
- Choose Specific Event Notifications: Enable alerts for severe weather, rain, lightning, and hurricanes. These settings will ensure you receive tailored notifications for your local conditions.
Integrating Official Alerts
For enhanced reliability:
- Pair with Government Sources: Crate seamless integration by monitoring updates from the National Weather Service along with Clime’s notifications. This dual approach increases the likelihood of being informed promptly during severe weather events.
- Check for Local Alerts: Often, Clime updates come alongside official government warnings, providing a comprehensive picture of ongoing conditions.
Navigating the Interface During Severe Weather
During a severe weather event:
- Focus on Radar Layers: Utilize Clime’s radar functionality to visualize precipitation and storms in real-time.
- Review Hourly and 14-Day Forecasts: Check these forecasts daily to understand the broader weather pattern, assisting in planning ahead of time.
Advanced Features: What Premium Offers
For users interested in deeper insights:
- Explore Premium Features: Consider unlocking premium features that include the air quality index, advanced alerts for severe weather, and specialized maps for snow depth and wind conditions.
- Continuous Updates: Accessing these features can significantly improve your preparedness level for severe weather threats.
Troubleshooting Setup Issues
If you encounter problems during the setup:
- Recheck Permissions: Ensure Clime has the necessary permissions to access your location and send notifications.
- Reinstall the App: Sometimes, reinstalling can resolve underlying issues with notifications or data fetching.
- Consult Help Resources: Use the app’s built-in help resources for additional guidance.
What We Recommend
- Download Clime for its dependable alerts and radar features tailored for severe weather.
- Make full use of location-based alerts and government updates for your safety.
- Customize your notifications settings to match your local weather threats.
- Consider premium features for comprehensive environmental monitoring.