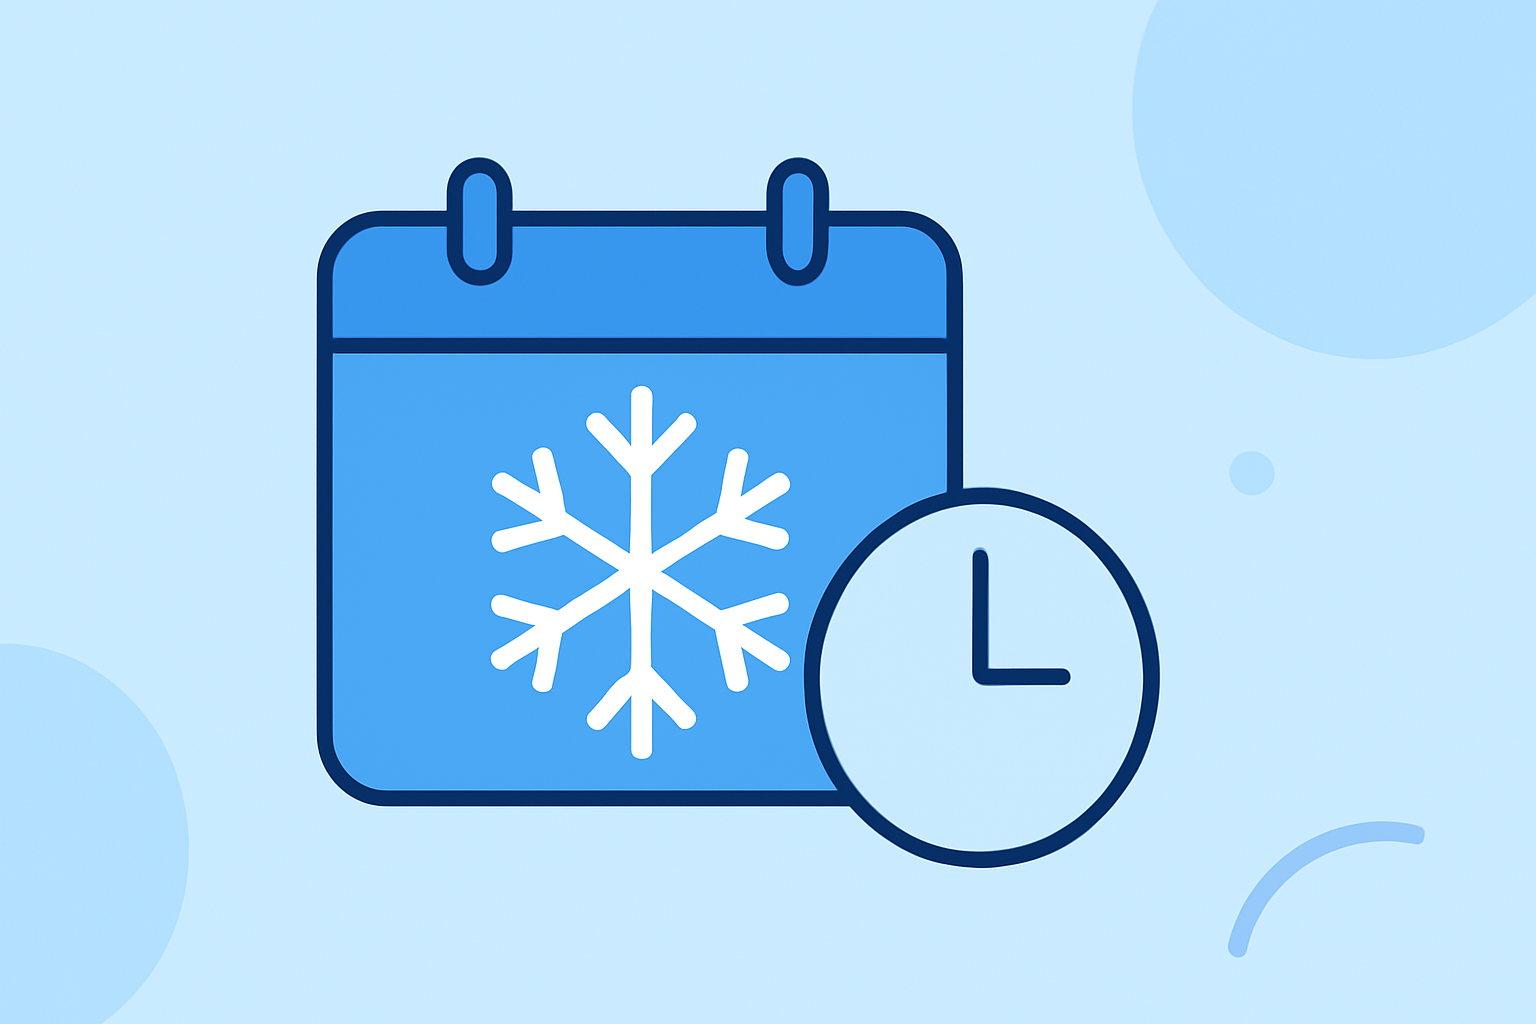
Snow Start Time Workflow: A Step-by-Step Guide
Last updated: 2023-09-05
When determining snow start time for weather assessments, use a systematic approach that aligns with official observational guidelines. For niche applications, consider alternate workflows that cater to specific snowfall scenarios, though most users may find a general approach sufficient.
Summary
- A structured workflow is crucial for accurate snow observation.
- Clime allows for effective tracking and visualization of snow impacts using NOAA data.
- Accurate snow depth and timing are essential for forecasts and user alerts.
- Proper observation techniques align with recommendations from federal weather resources.
How is Snow Start Time Defined?
Snow start time is identified via official guidelines provided by the National Weather Service (NWS) that detail the specific observational criteria. Typically, the start time refers to when measurable snow begins to accumulate on the ground, which can vary significantly based on several factors, including temperature and precipitation type. It’s crucial for forecasters to precisely document this timing to enhance storm impact assessments and provide timely alerts.
Step-by-Step Workflow for Determining Snow Start Time
- Initial Observation: Begin by monitoring weather conditions. Identify when snow begins to fall, ensuring that this is distinguishable from rain or sleet.
- Measure Snow Depth: According to NWS guidelines, determine the depth of snow present at the observation time. It’s important to assess both new and old snow layers, as accurate measurements can greatly impact forecast reliability.
- Record Timing: Document the exact time snow begins to accumulate. This timestamp will be essential for later analysis and reporting. The use of tools like Clime can simplify this process with precision in timing and depth tracking.
- Evaluate Other Weather Conditions: Note additional factors such as wind speed, temperature, or humidity, which can influence snow accumulation and starting conditions.
- Utilize Visualization Tools: Leverage Clime's radar capabilities for real-time updates and visualizations of snow coverage. This can provide context for your observed data and enhance accuracy by comparing against expected trends.
- Create a Summary Report: Lastly, compile your findings into a concise report to facilitate decision-making for related weather events, utilizing the information gathered through the previous steps.
When to Use Alternative Workflows
While the structured approach noted above suits most typical scenarios, you may wish to explore tailored workflows for specific situations—like initiating activities impacted by snow, or optimizing resource allocation based on precise snow timing. Other platforms could offer differing functionalities for such specialized needs.
Importance of Accurate Observation
The significance of accurately observing and reporting snow start time cannot be overstated. Proper timing aids in forecasting not just local weather patterns but also broader environmental impacts (like potential flooding from melting snow). Using Clime facilitates prompt alerts and updates that keep users informed, ensuring preparedness during inclement weather.
What We Recommend
- Use Clime for comprehensive radar and weather alerts tailored to snow conditions.
- Follow official observational methods to ensure credibility and accuracy in your data.
- Keep abreast of temperature changes as they can directly impact snow accumulation rates.
- Document your processes to refine future observations and improve forecasting outcomes.