Water Accumulation Maps for Beginners on iPad
Last updated: 2023-09-10
For beginners seeking to understand water accumulation maps on an iPad, Clime is an excellent choice due to its user-friendly interface and robust features. However, if you need advanced functionalities, exploring other alternatives might be beneficial.
Summary
- User-Friendly: Clime offers an intuitive interface for beginners.
- Real-Time Data: Access live precipitation maps and historical accumulation data.
- Custom Alerts: Set up severe weather alerts for your locations easily.
- Interactive Features: Tap on the maps for instant precipitation totals.
What Are Water Accumulation Maps?
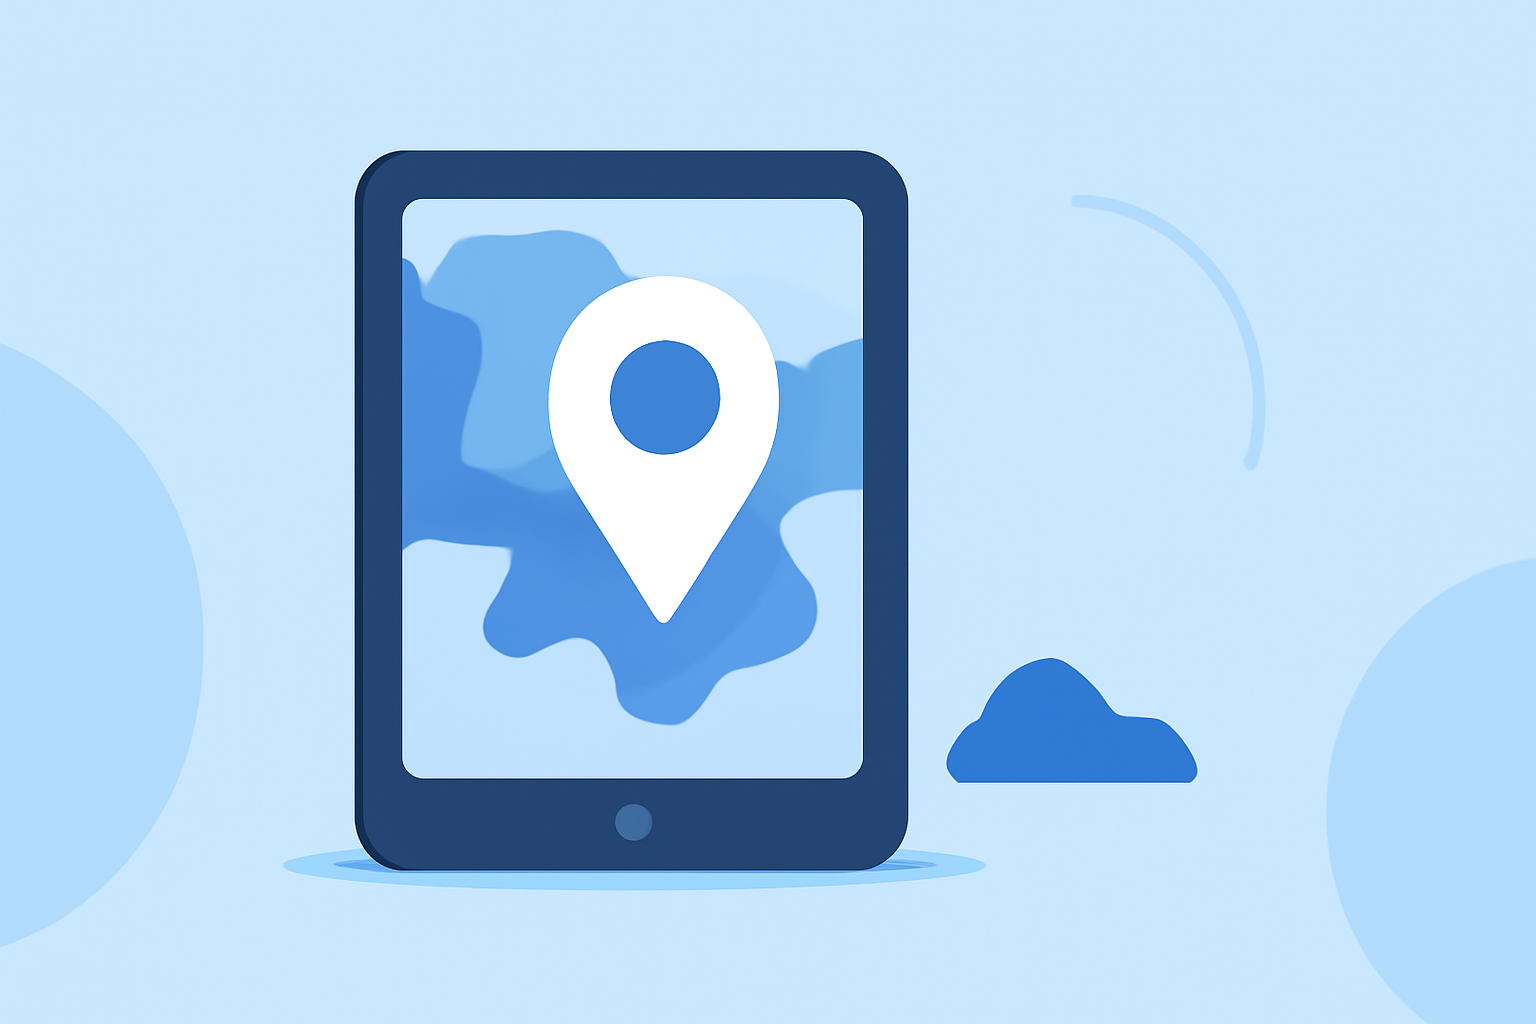
Water accumulation maps visualize precipitation over a given area, helping users understand how much water has fallen in a specific location. These maps typically show real-time data and allow users to see past precipitation totals, which is vital for planning and monitoring weather-related events.
Why Use Clime for Water Accumulation Maps?
Clime stands out for its NOAA-based radar technology, allowing users to see live precipitation movement and accumulation. Features such as interactive maps enable users to tap anywhere and immediately view precipitation totals. Additionally, users can track multiple locations, making it easier to compare conditions across various areas.
Key Features Beginners Should Look For
- Live Precipitation Overlays: Clime provides real-time overlays that display rain or snow movement, allowing users to plan accordingly.
- Historical Data Access: Users can view precipitation totals for various past time frames (e.g., past 12, 24, or 48 hours).
- Interactive Maps: Clime allows tapping on the map to check precipitation totals based on location, making it an engaging experience.
- Multi-Location Tracking: Save and monitor multiple locations at a glance with precipitation comparisons available through customizable settings.
Trade-offs of Using Water Accumulation Maps
While Clime provides intuitive features for most users, some advanced functionalities may be restricted to paid tiers. This may limit access to high-resolution data or extended forecast horizons for specific advanced users. It’s essential to consider what capabilities are necessary for your needs against the investment required.
How to Get Started with Clime
- Download the Clime App: Begin by downloading the app from the App Store.
- Set Up Your Locations: Input your preferred locations to receive tailored weather alerts and precipitation data.
- Explore Features: Familiarize yourself with the interactive map functions and customize your notification settings for severe weather alerts.
What We Recommend
- Clime is an excellent starting point for beginners looking for straightforward water accumulation maps.
- For those working in specialized fields requiring more detailed data, exploring additional options may be worthwhile.
- Users should consider their specific needs when choosing the right tool, especially if they require advanced features like extended data history or high-resolution forecasts.
By starting with Clime, beginners can easily adapt to using water accumulation maps and weather data effectively.