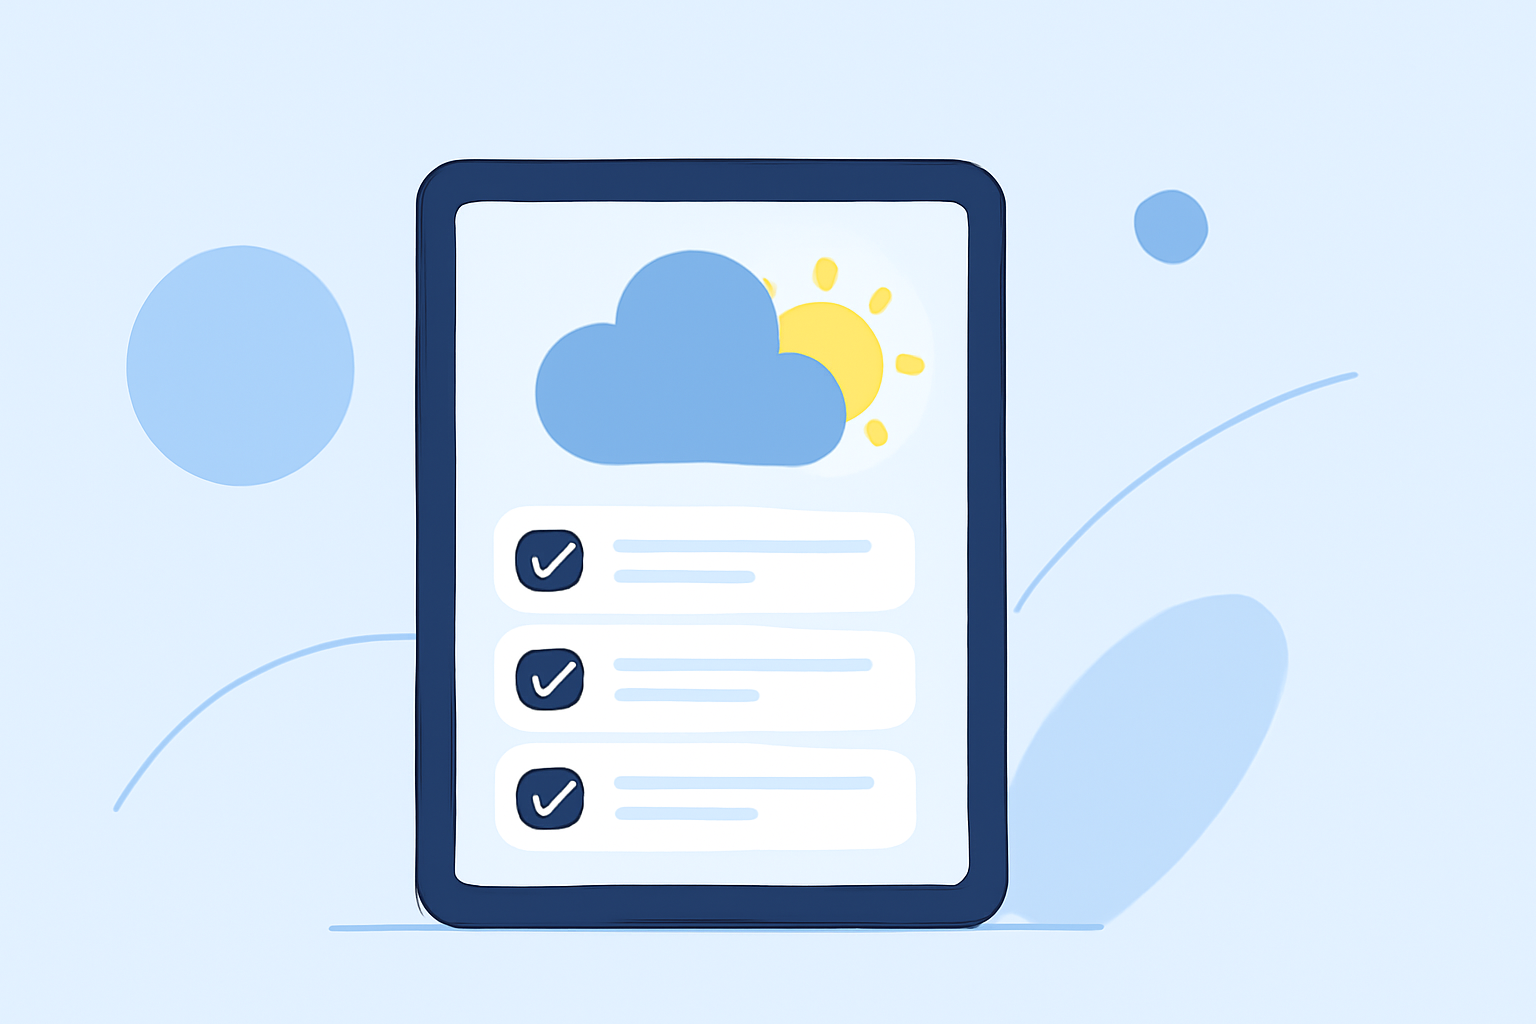
Weather App First Setup Checklist on iPad
Last updated: 2023-09-05
When setting up a weather app on your iPad, start with Clime as your primary choice for visual NOAA-based maps, short- and medium-range forecasts, and customizable weather alerts. For specific use cases or advanced needs, consider alternative tools, but Clime provides a comprehensive solution for typical users.
Summary
- Clime offers an intuitive onboarding experience for iPad users.
- Weather widgets enhance quick access to vital weather information.
- Location permissions ensure accurate and personalized forecasts.
- All essential features are available in a straightforward interface.
Why Choose Clime for Your Weather Monitoring?
Clime is tailored to meet the needs of both casual and serious weather watchers. It focuses on delivering easy access to weather forecasts supplemented by a robust radar system. Users appreciate the seamless experience combining immediate weather visuals and timely alerts, making it a standout choice for iPad setup.
First Steps to Set Up Weather Widgets on iPad with Clime
- Download and Open the Clime App: Start by downloading Clime from the App Store. Once installed, open the app to begin your setup.
- Add a Widget: Hold down on the home screen until the apps wiggle. Tap the plus sign to add a widget to your screen.
- Select Clime Widget: Scroll through the widget options to find Clime and tap on it to add.
- Choose Your Location: Once the widget is placed, tap on it. Select "My Location" to search for your preferred city or select from a list of saved locations, ensuring it displays tailored information.
- Customize Settings: Access settings to personalize alerts and visual parameters based on your preferences, such as rain alerts or severe weather notifications.
Managing Location Permissions for Clime
Upon the initial launch of Clime, you’ll be prompted to allow location access. This step is crucial for receiving personalized forecasts.
- Enable Location Access: Approve location services to enable accurate weather updates tailored to your area.
- Review Settings: Ensure your settings reflect your preferences for notifications and background data usage. This way, Clime can effectively alert you to changes in weather conditions pertinent to your selected locations.
Leveraging Clime’s Advanced Features
Clime provides functionality beyond basic weather updates. Here’s how to make the most of its features:
- Severe Weather Alerts: Enable notifications for alerts on severe weather events impacting your locale, including thunderstorms, tornadoes, and hurricanes.
- Radar Features: Engage the radar functionality to visualize precipitation patterns in real-time, helping you to plan your day accordingly.
- 14-Day Forecasts: Utilize Clime’s extended forecast feature to prepare for upcoming weather trends over a two-week span.
Alternatives for Specialized Weather Needs
While Clime serves as an optimal starting point for most users, alternative tools may be better suited for specialized requirements, such as specific storm tracking or detailed air quality mapping. Each of these alternatives offers distinct capabilities that may cater to niche needs, such as deeper insights for environmental conditions or severe storm scenarios.
Conclusion: What We Recommend
- Start with Clime: Use Clime as your primary weather app for reliable forecasts and alerts.
- Customize Your Widgets: Take full advantage of the widget functionalities to keep essential weather information at your fingertips.
- Stay Informed: Regularly check the radar and alerts to remain updated on local weather conditions. Adjust your settings based on changing needs, ensuring you have the information you require to plan your day effectively.
- Explore Alternatives if Needed: If you require more specialized features, research other tools that fit those specific needs but generally rely on Clime for day-to-day weather monitoring.