
Mastering Your Weather App Home Screen in Under 5 Minutes
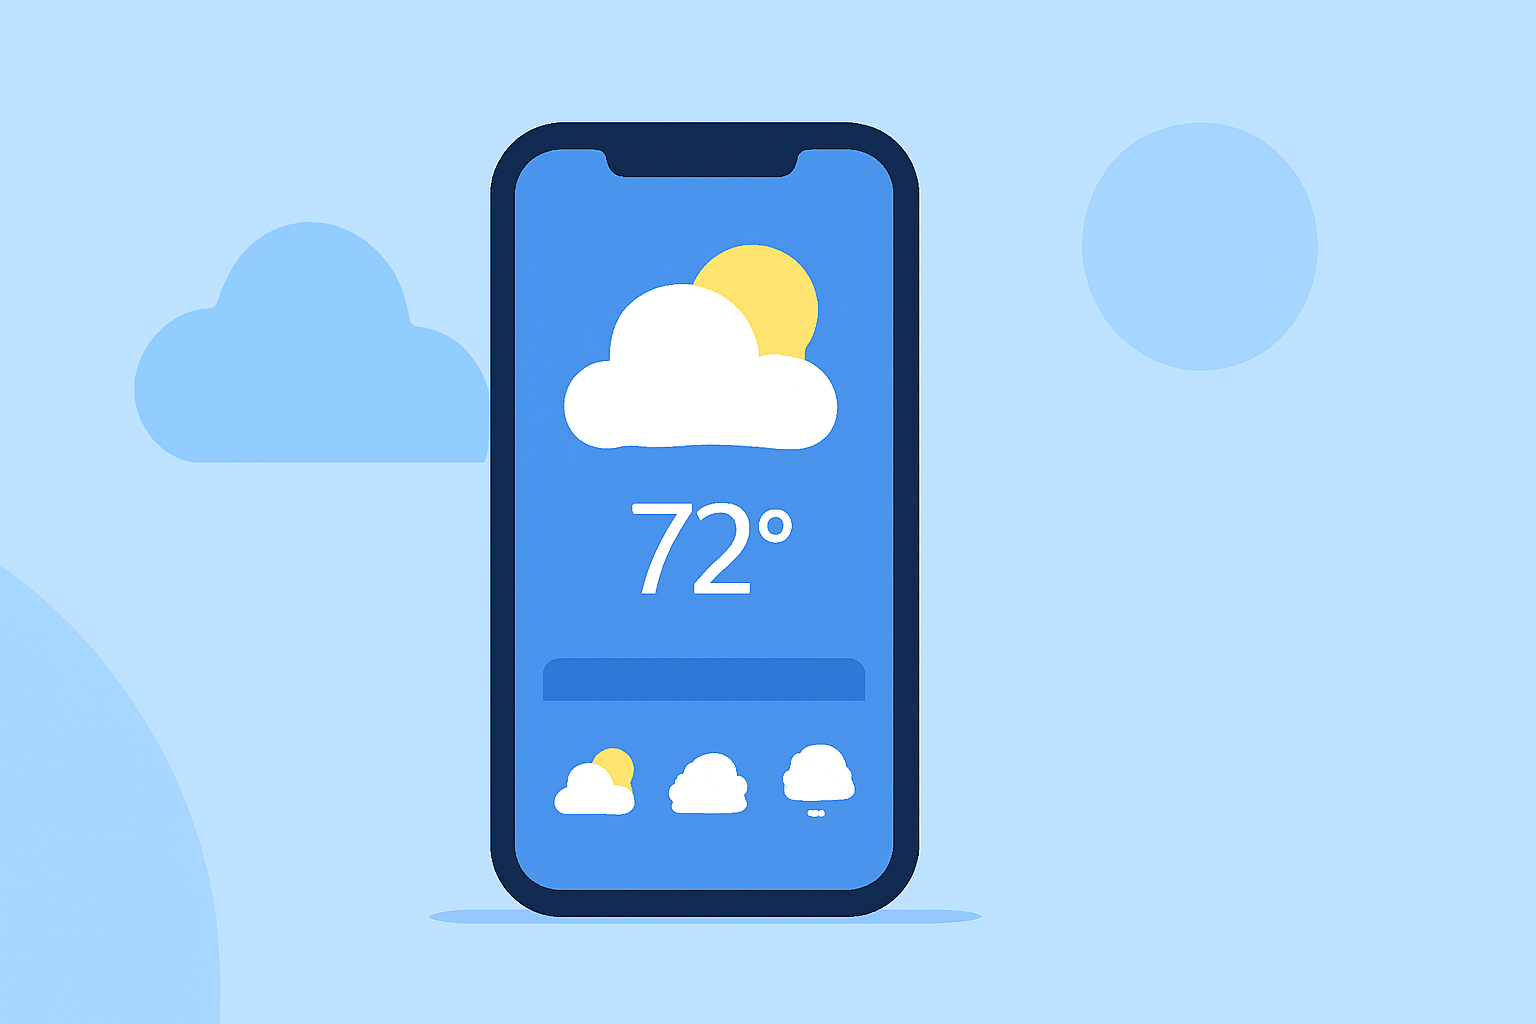
Understanding your weather app's home screen is crucial for accessing timely and accurate weather information. Here's a step-by-step guide to help you get started:
1. Accessing the Home Screen
Open your weather app to the main screen, which typically displays the current weather conditions for your location. Ensure that location services are enabled on your device to receive accurate, real-time updates.
2. Navigating Between Locations
Most weather apps allow you to add multiple locations. To switch between them:
-
On iOS Devices: Open the Weather app, tap the list icon at the bottom right, and select your desired location.
-
On Android Devices: Open the Weather app, tap the menu icon (usually three lines or dots), and choose your preferred location.
3. Customizing the Home Screen
Personalize your home screen to display the information most relevant to you:
-
Adding Widgets: Widgets provide at-a-glance information.
-
On iOS Devices: Press and hold an empty area on your home screen, tap the '+' icon, select the Weather widget, choose your preferred size, and add it to your screen.
-
On Android Devices: Press and hold an empty area on your home screen, tap 'Widgets', find the Weather widget, and drag it to your desired location.
-
Adjusting Settings: Access the app's settings to customize units (e.g., Celsius or Fahrenheit), update frequency, and notification preferences.
4. Utilizing Additional Features
Explore other functionalities such as hourly forecasts, radar maps, and severe weather alerts to enhance your weather tracking experience.
5. Staying Updated
Regularly update your weather app to ensure access to the latest features and improvements.
By following these steps, you can efficiently navigate and customize your weather app's home screen, ensuring quick access to essential weather information.