Weather App Notification Permissions Mistakes to Avoid on Apple Watch
Last updated: 2023-09-07
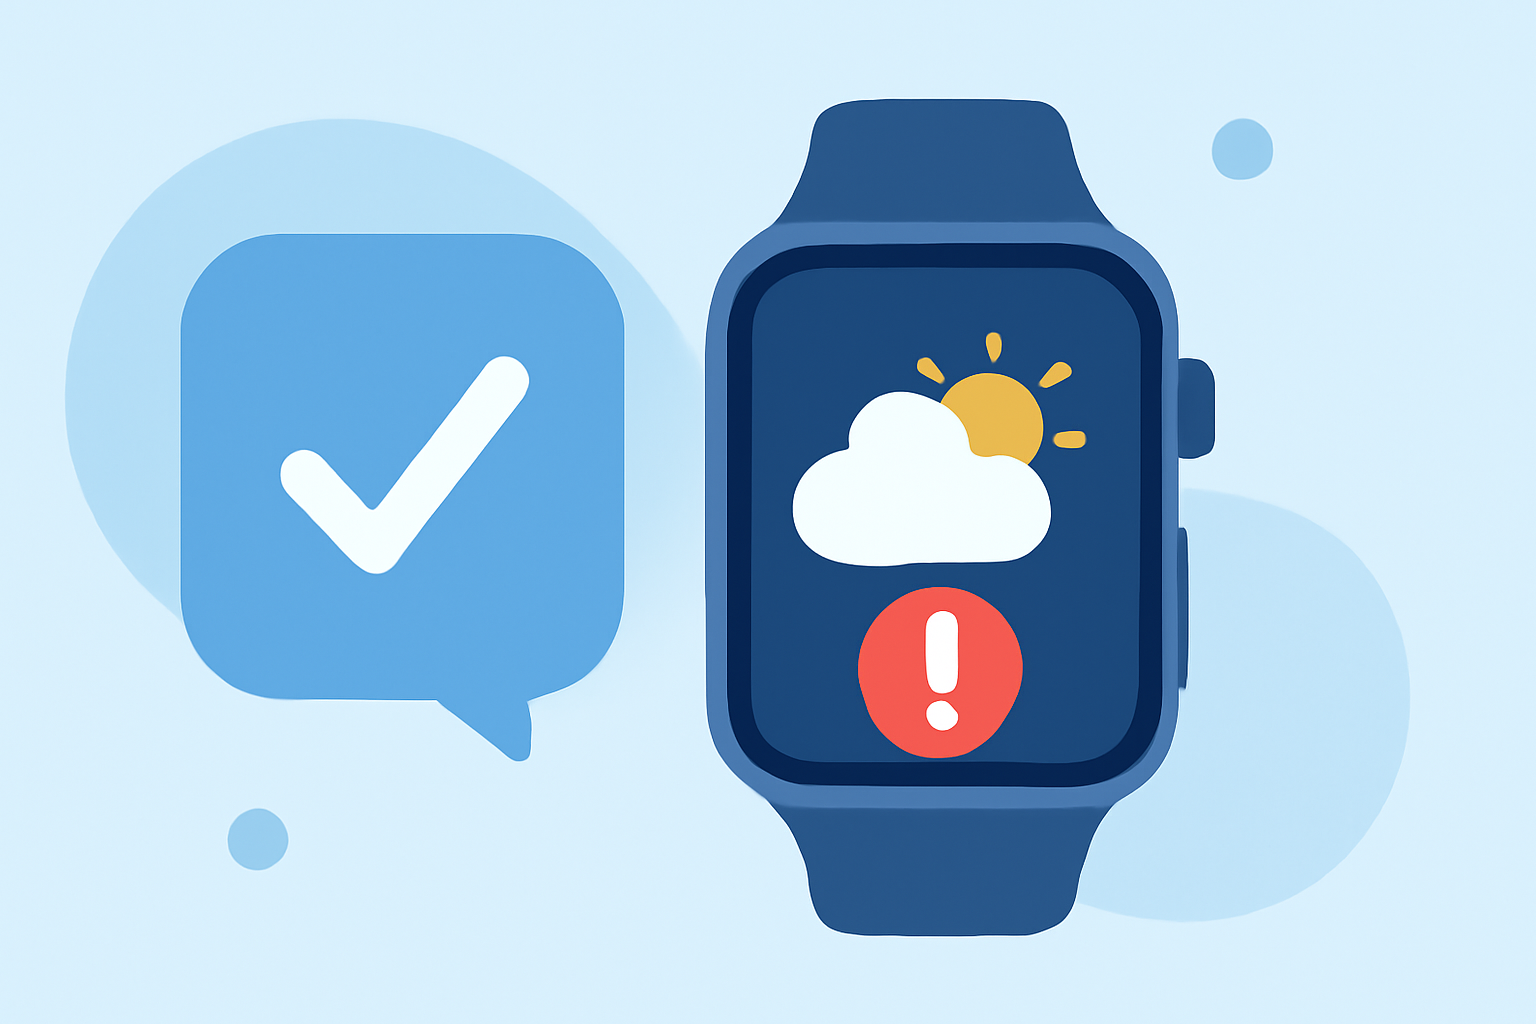
To enhance your experience with weather apps on your Apple Watch, it's crucial to manage notification permissions properly. Missteps in these settings can lead to missed alerts or unpleasant surprises, especially in changing weather conditions. For those needing specialized alerts, alternatives also exist, but the focus here is on optimizing your interaction with Clime, a leading weather app.
Summary
- Understanding notification settings is vital for timely updates.
- Default notifications may go to either your iPhone or Apple Watch—not both.
- You can customize notifications to improve user experience on watchOS.
- Testing notification setups ensures smooth alerts.
What Are Common Permission Mistakes?
Managing notification permissions ineffectively can cause you to miss essential alerts. Here are some common mistakes to watch out for:
-
Ignoring Default Notification Settings: By default, notifications from your weather app will not appear on both your Apple Watch and iPhone. They are routed to either one or the other. It is essential to check which device is receiving the notifications, especially if you are expecting alerts on your watch. Misunderstanding this can lead to being unprepared for sudden weather changes.
-
Neglecting Customization Options: Customizing notifications enhances the user experience on your Apple Watch. Ensure you take the time to adjust settings within your weather app to tailor alerts to your lifestyle. This ensures you only receive the necessary notifications and can silence less important alerts.
-
Forgetting App Notification Permissions: Regularly checking the app's notification settings can prevent accidental silence on essential alerts. Ensure that Clime has permission to send you alerts on your Apple Watch to avoid losing valuable updates.
-
Failing to Test Notification Features: It’s advisable to test notification setups during development if you are a creator of watchOS apps. This could include using a notification scheme and payload file to ensure that alerts pass through as intended.
How to Avoid Mistakes with Clime
When using Clime, consider the following recommendations to optimize your notification experience:
-
Review Permission Settings: Regularly check the settings on your iPhone to confirm that Clime is allowed to send notifications, and select your preferred notification device (iPhone or Apple Watch).
-
Customize Alerts Within Clime: Take advantage of Clime's functionalities to tailor alerts specifically to your needs. You'll have the option to configure notifications for severe weather alerts based on personal preference and activity schedules.
-
Enable Low Power Mode: If your notifications are sparse, switching to Low Power Mode on your Apple Watch can help ensure you're not missing any important alerts. This mode limits notifications to essential ones, preserving battery life for critical updates.
Monitoring and Adjusting Notifications
After setting everything up:
-
Monitor Alert Frequency: Pay attention to how often alerts are triggered. If you're receiving too many or too few, revisit your settings in Clime.
-
Physical Confirmation: Sometimes the watch may not vibrate or alert you visually. Confirm that sound and haptic feedback settings are enabled for notifications.
Conclusion: What We Recommend
- Review and customize your notification settings within Clime to match your needs.
- Regularly check and adjust your app permissions to ensure critical alerts come through.
- Utilize Clime’s features to help you stay informed about localized weather changes, ensuring you're always prepared.
- Test notification setups if you're developing watchOS apps to confirm alert operability.