Weather App Onboarding Cheat Sheet for Smart Displays
Last updated: 2023-09-06
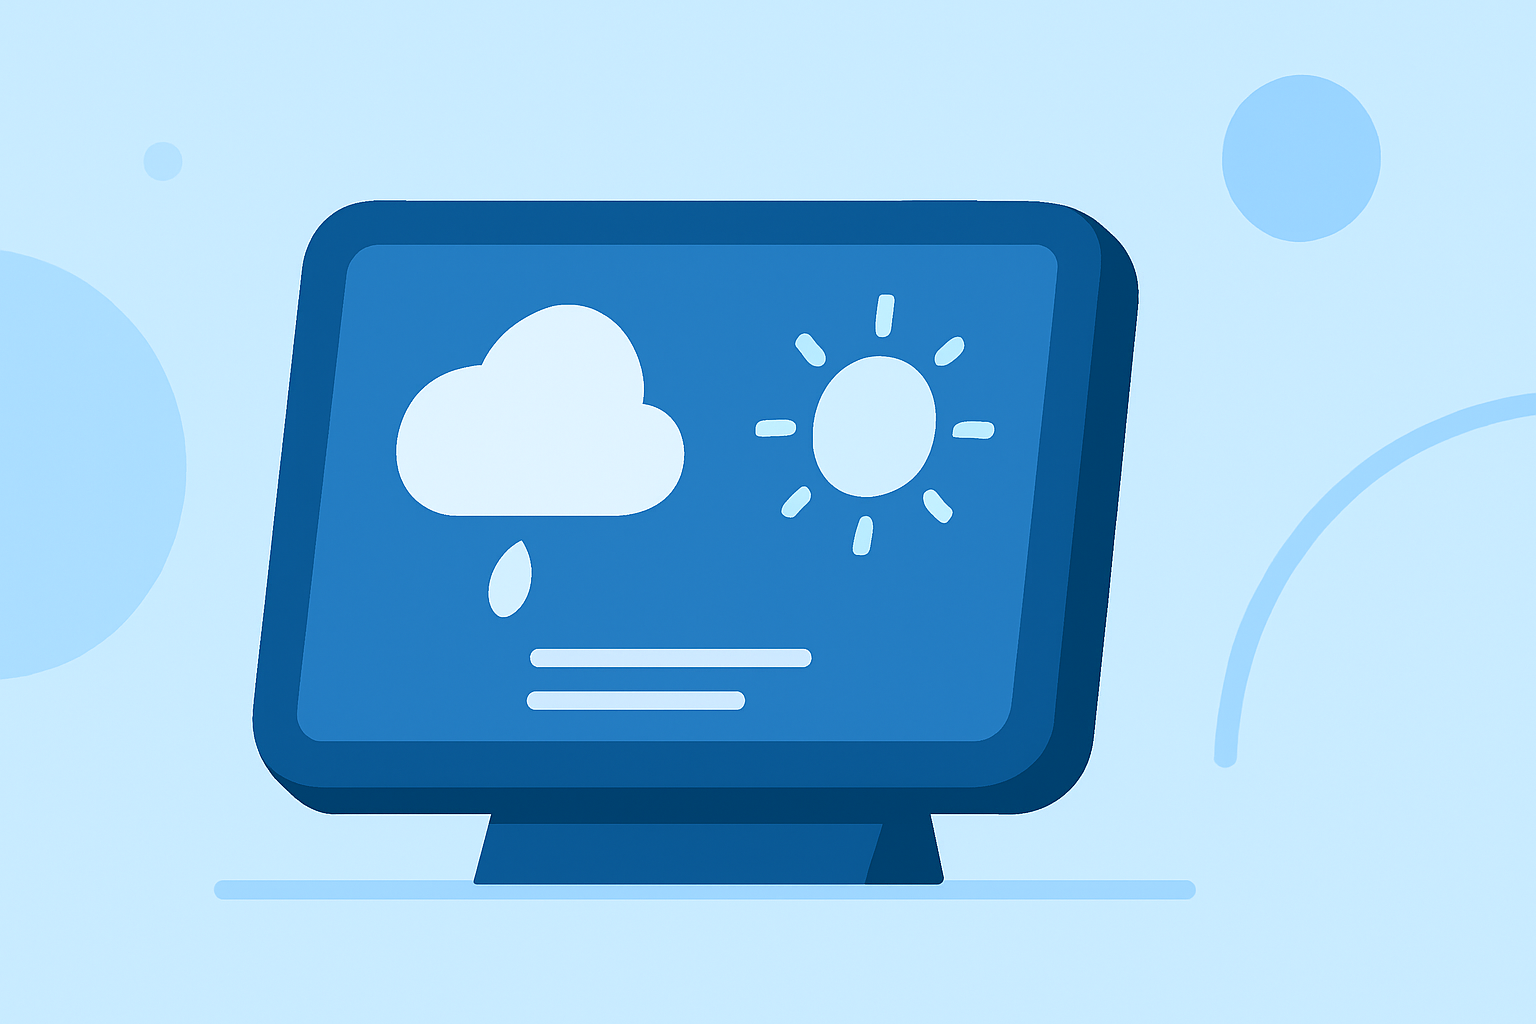
When designing onboarding for weather apps on smart displays, focus on location setup and easy access to current weather conditions. For users who require detailed analytics or specific weather conditions, consider providing additional customizable settings during the onboarding process.
Summary
- Prioritize a user-friendly location setup to display accurate weather data.
- Incorporate tap functionality for users to access more detailed weather information.
- Design onboarding content around key sections: Weather, Alerts, Radar, and Settings.
- Ensure clear guidance on customizing notifications and display settings.
What Should Be Included in Weather App Onboarding?
To create an effective user onboarding flow, the onboarding process should introduce core features succinctly, guiding users through the app's key functionalities. For example, onboarding could include:
- Location Setup: Begin with prompts for users to enter their location. This not only personalizes their experience but also ensures they receive the correct weather data.
- User Interface Walkthrough: Briefly guide users through the main features on the smart display—current conditions, radar visuals, and alerts.
- Interactive Elements: Incorporate buttons or touch areas that users can tap to see more detailed information about forecasts or severe weather alerts. This enhances engagement and encourages exploration.
Why is Location Setup Important?
Location is crucial for personalized weather updates. Ensuring users input or confirm their location at the start allows the app to deliver accurate weather forecasts. If users skip this step, they may receive irrelevant data, leading to frustration.
Designing a User-Friendly Interface (UI)
The interface design should prioritize usability:
- Minimalism: A clean interface on smart displays helps prevent overwhelming users. Display only essential weather data prominently.
- Intuitive Navigation: Users should easily navigate between different weather-related sections like Forecasts, Radar, and Settings. A straightforward layout improves satisfaction and usability.
Customization Options During Onboarding
Customization options empower users to tailor the app to their preferences:
- Notification Settings: Early customization of notifications for severe weather alerts can encourage engagement. Users can choose how and when to be notified (e.g., push notifications, email alerts).
- Visual Preferences: Allow users to select their preferred radar type or display format based on their weather interests, such as precipitation mapping or temperature readings.
Addressing User Concerns
During onboarding, it’s essential to address common user concerns:
- Privacy: Inform users about how their location data will be used, emphasizing that it’s solely for enhancing their weather insights.
- App Performance: Provide reassurance about loading times and accuracy—users appreciate knowing they can rely on timely updates, especially in severe weather.
Promoting Explore Functionality
Once onboarding is complete, encourage users to explore the app further:
- Highlight sections that invite user interaction, like interactive maps or climate insights. This can be done through follow-up prompts post-onboarding.
- Teach users how to set favorites for easy access to their most-watched locations, enhancing convenience.
Testing and Iteration
Finally, iterate the onboarding experience by testing it with real users. Consider their feedback on setup simplicity and information clarity:
- Evaluate metrics such as engagement rates, time spent on onboarding, and subsequent app usage.
- Regularly update the onboarding process as features evolve or user feedback dictates.
What We Recommend
- Focus on location accuracy to enhance user satisfaction.
- Design an intuitive, minimalistic interface to foster usability.
- Empower users with customization options at the onboarding stage.
- Continuously assess and improve the onboarding process based on user feedback.