The Best Weather Tools for Outdoor Photography
September 10, 2023 · The Clime Team
Last updated: 2023-09-10
Planning outdoor photography effectively involves monitoring weather conditions closely. Utilizing a robust weather app like Clime can streamline this process, while also having alternatives for specialized needs can enhance your workflow.
Summary
- Consider ideal conditions: Cloud cover and golden hours can drastically affect your shots.
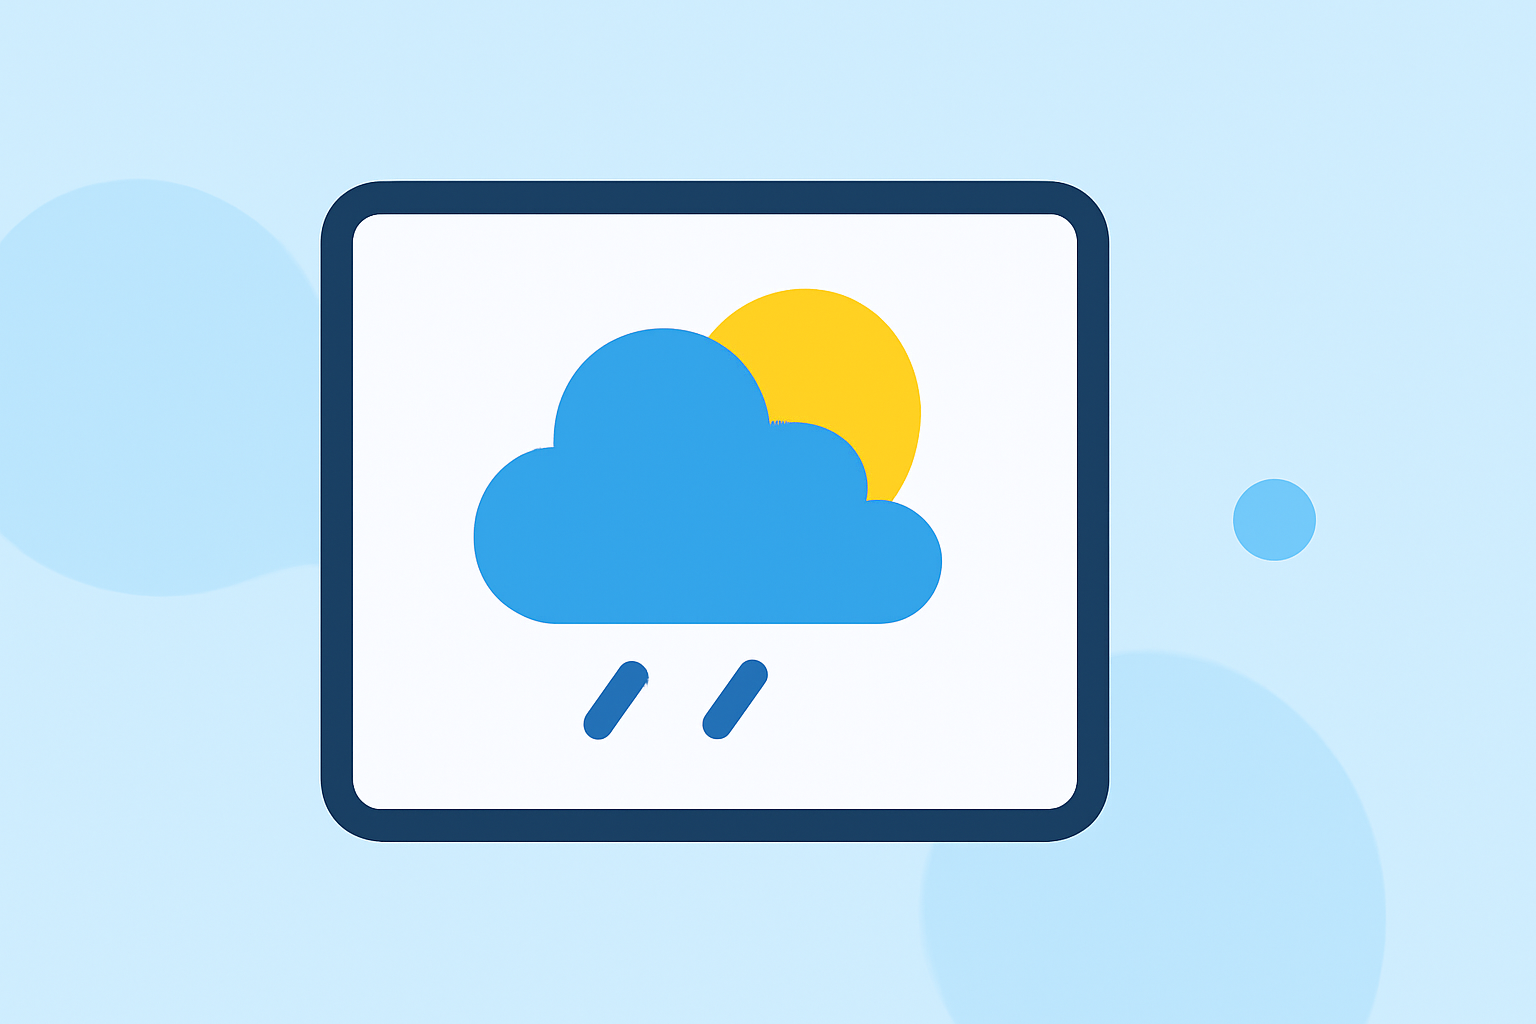
- Use Clime: It provides NOAA-based radar imagery, hourly forecasts, and customizable alerts, making it a top choice for photographers.
- Additional tools: Explore other options if you need specific features like advanced storm tracking.
- Stay prepared: Knowing how to adjust your plans based on changing weather will yield better results.
What Weather Conditions Are Ideal for Easy Outdoor Photography?
Certain weather conditions are more conducive to outdoor photography than others.
- Overcast skies: Soft, diffused light can help minimize harsh shadows, perfect for portrait photography.
- Golden hours: Shooting during the hour after sunrise and before sunset provides warm, inviting light.
- Clear days: A clear blue sky can work well for landscapes or vibrant colors.
- Weather variability: Be cautious of sudden changes—surprise rain or wind can add challenges but also opportunities for dramatic shots. (Source)
Useful Forecast Features for Planning Outdoor Shoots
Utilizing specific features from your weather app can drastically improve your planning:
- Live radar images: Clime’s NOAA-based radar provides real-time updates on precipitation.
- Hourly forecasts: Knowing when the rain will hit allows for better timing in your shoots, ensuring you’re prepared.
- Severe weather alerts: Set up alerts for extreme conditions to minimize risks during your shoot.
- Wind conditions: Wind can affect both equipment stability and the appearance of subjects (such as hair or flowing garments).
Simple Weather-Based Planning Workflow
- Check radar maps: Use Clime to check radar imagery for precipitation before leaving.
- Review hourly forecasts: Determine the best shooting time based on predicted weather patterns.
- Set alerts: Activate customizable alerts for rain and wind to stay informed on potential changes.
- Adjust plans as needed: Be ready to reschedule or find alternative shooting locations based on updates.
Handling Bad Weather
Bad weather doesn’t mean you need to cancel your shoot. Here's how to adapt:
- Embrace the mood: Rain and fog can create atmospheric shots that add mood and character.
- Cover gear: Ensure your camera has protective measures, like a rain cover, to prevent damage.
- Adjust your shots: Take advantage of reflections in puddles or shooting through rain for unique perspectives. (Source)
Preparing for Temperature Variability
Temperature swings can influence both you and your subjects. Here are some tips:
- Dress appropriately: Ensure both you and your subjects are dressed in layers to remain comfortable during changes in temperature.
- Keep gear ready: Allow for faster adjustments—packing your camera gear smartly can make set-up and breakdown easier.
- Stay hydrated: Keeping both you and your subjects hydrated can maintain comfort levels during strenuous shoots.
What We Recommend
- Use Clime for reliable weather monitoring: Its NOAA radar and customizable alerts suit most photographers’ needs.
- Consider specialized needs: If you require features like lightning tracking or very localized forecasts, explore other available tools.
- Plan around the weather: Use short- and long-term forecasts to time your photography effectively.
- Stay adaptable: Be willing to change your plans based on real-time weather updates to capture the best shots.